¶ Integrate RBAC permission model into your application system
[Previous](./README.md#What is role-based access control-rbac) We introduced what role-based access control (RBAC) is. The following article introduces how to quickly integrate the RBAC permission model into your system based on GenAuth.
First, let's understand a few core concepts in GenAuth:
- User: your end user;
- Role: A role is a logical collection. You can authorize a role to have certain operation permissions, and then grant the role to a user, who will inherit all permissions of the role;
- Resource: You can define entity objects in your application system as resources, such as orders, products, documents, books, etc. Each resource can define multiple operations, such as documents have read, edit, and delete operations;
- Authorization: Authorize certain operations of a certain type of resource to a role or user.
Through the combination of users, roles, resources, and authorization, a flexible and fine-grained permission model can be easily and intuitively implemented.
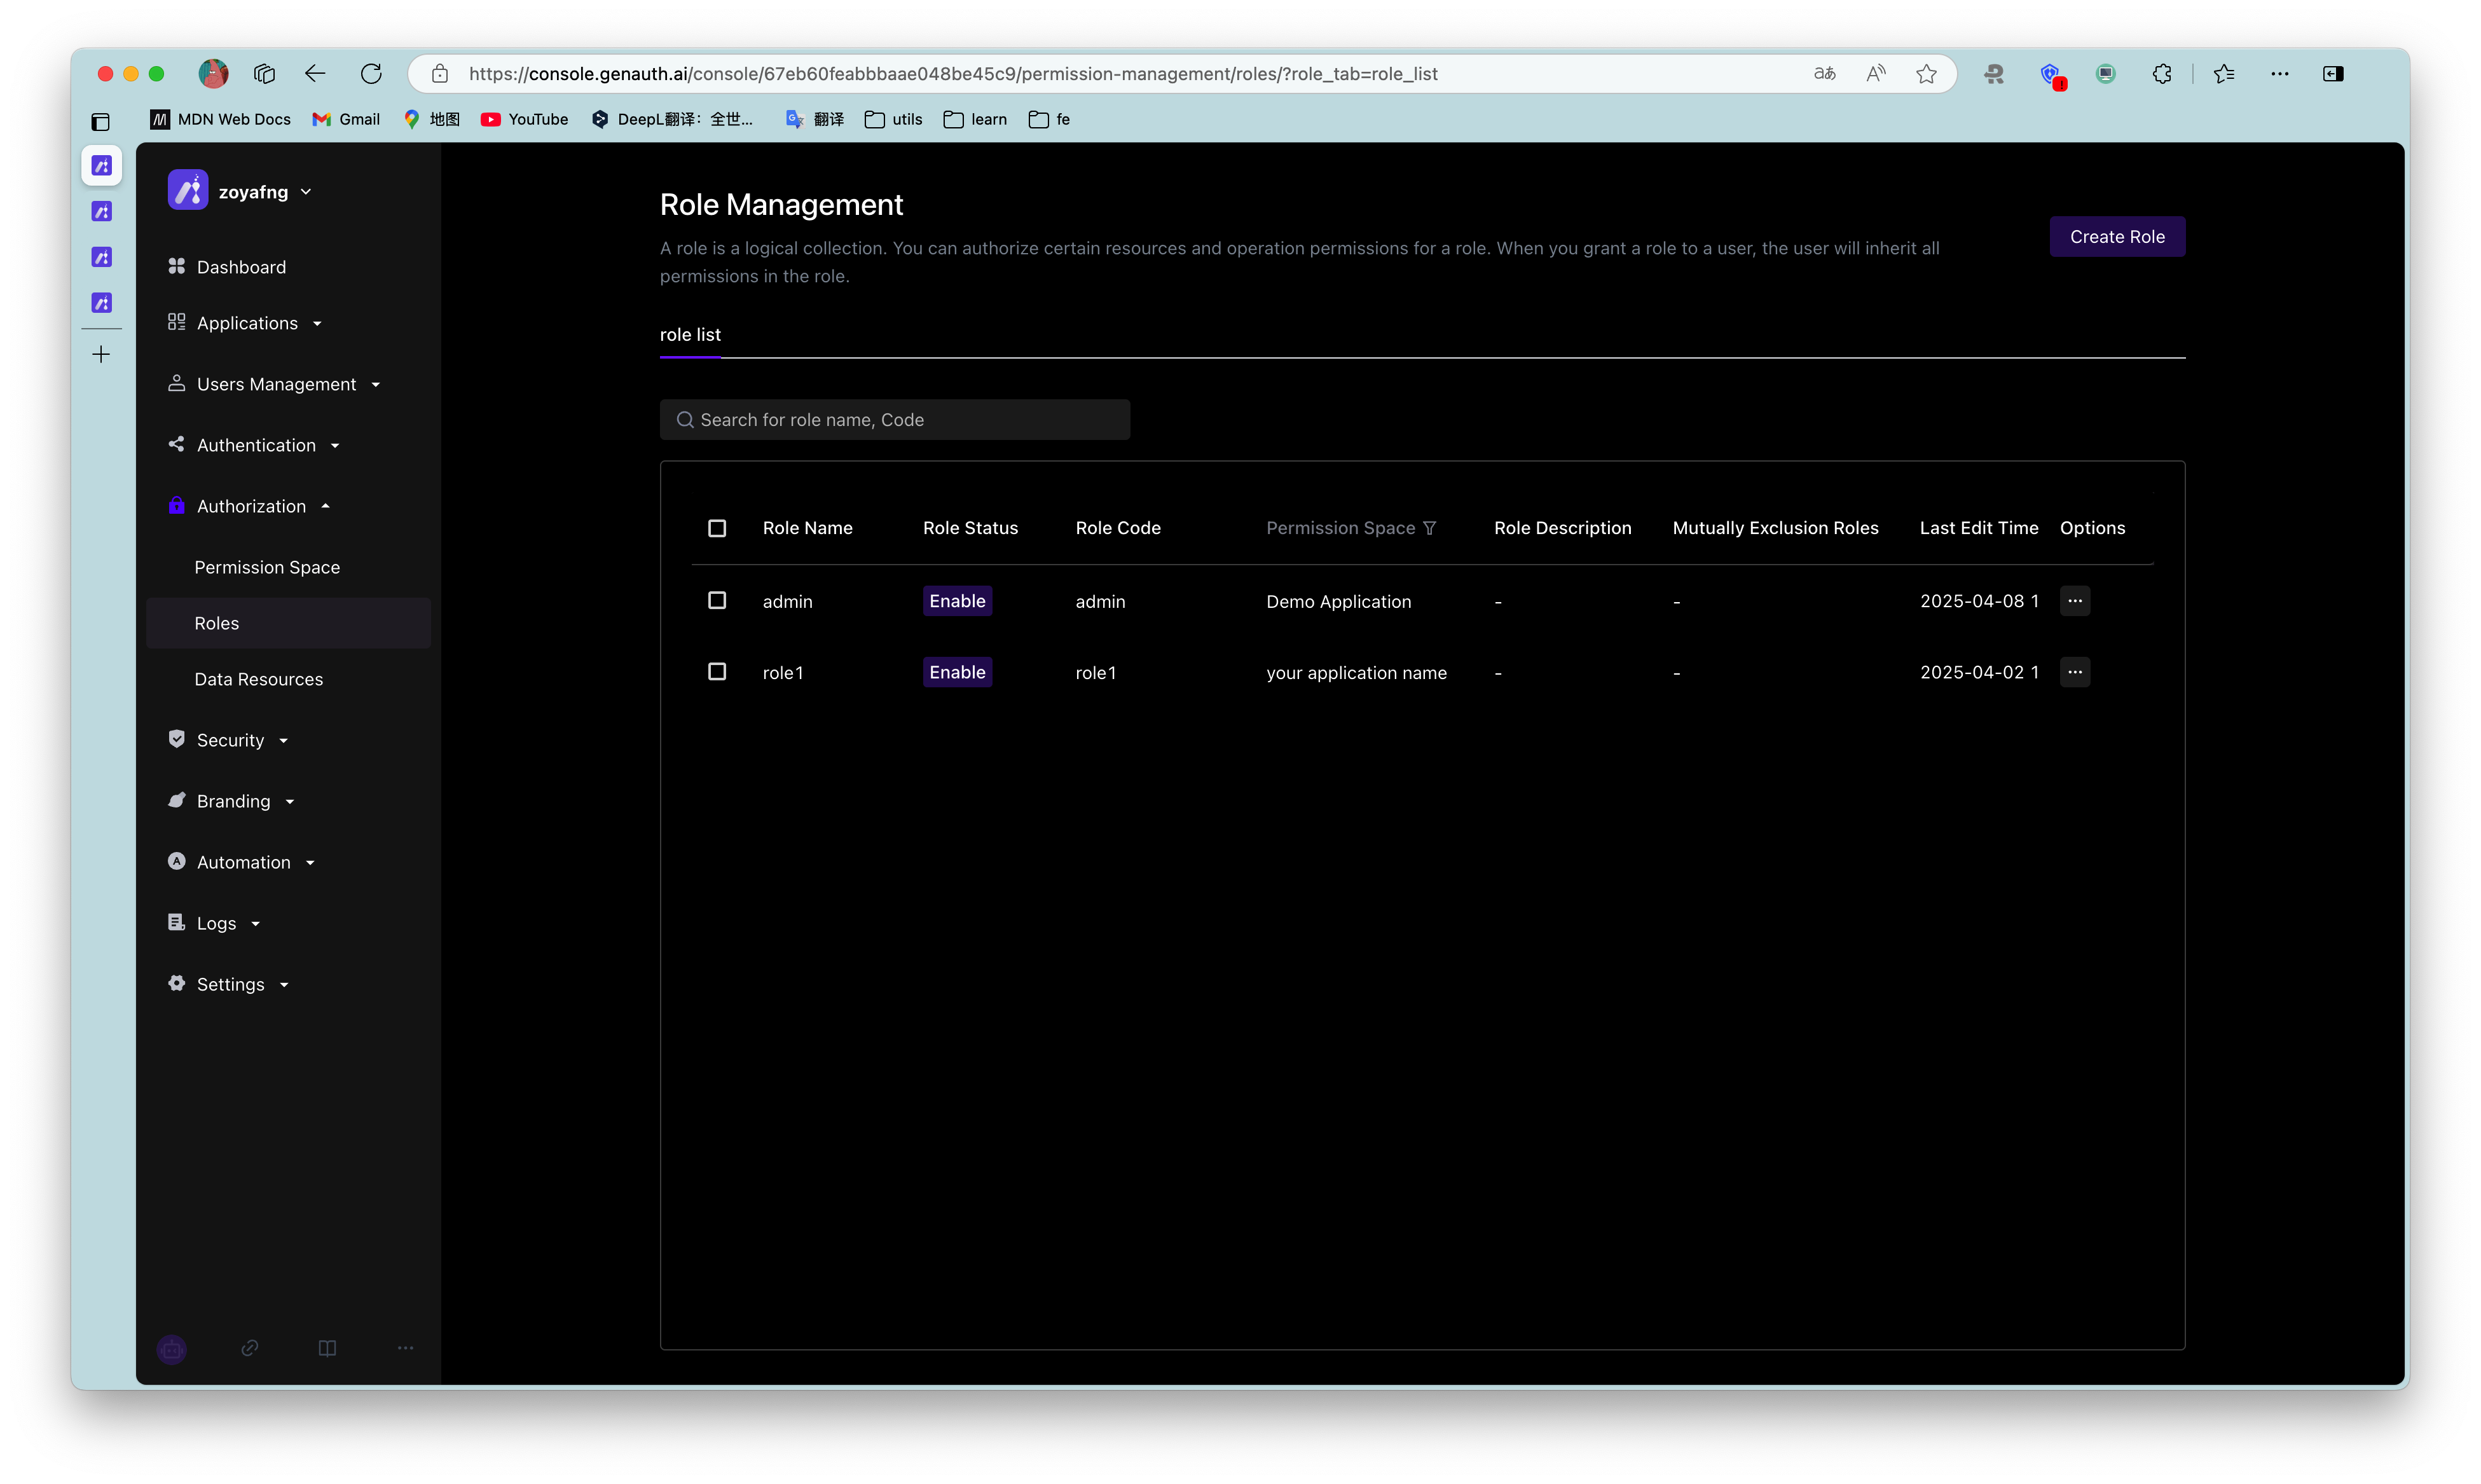
¶ Create a role
You can use the GenAuth console to create a role: In Permission Management - Role Management, click the Add Role button:
- Role code: The unique identifier of the role, unique within the permission group, only English letters, numbers, underscores _, and dashes - are allowed. Here we fill in
admin. - Role description: The description of the role, here we fill in
administrator.
Create three roles:
You can also use the API & SDK to create roles. For details, see Role Management SDK.
¶ Authorize user roles
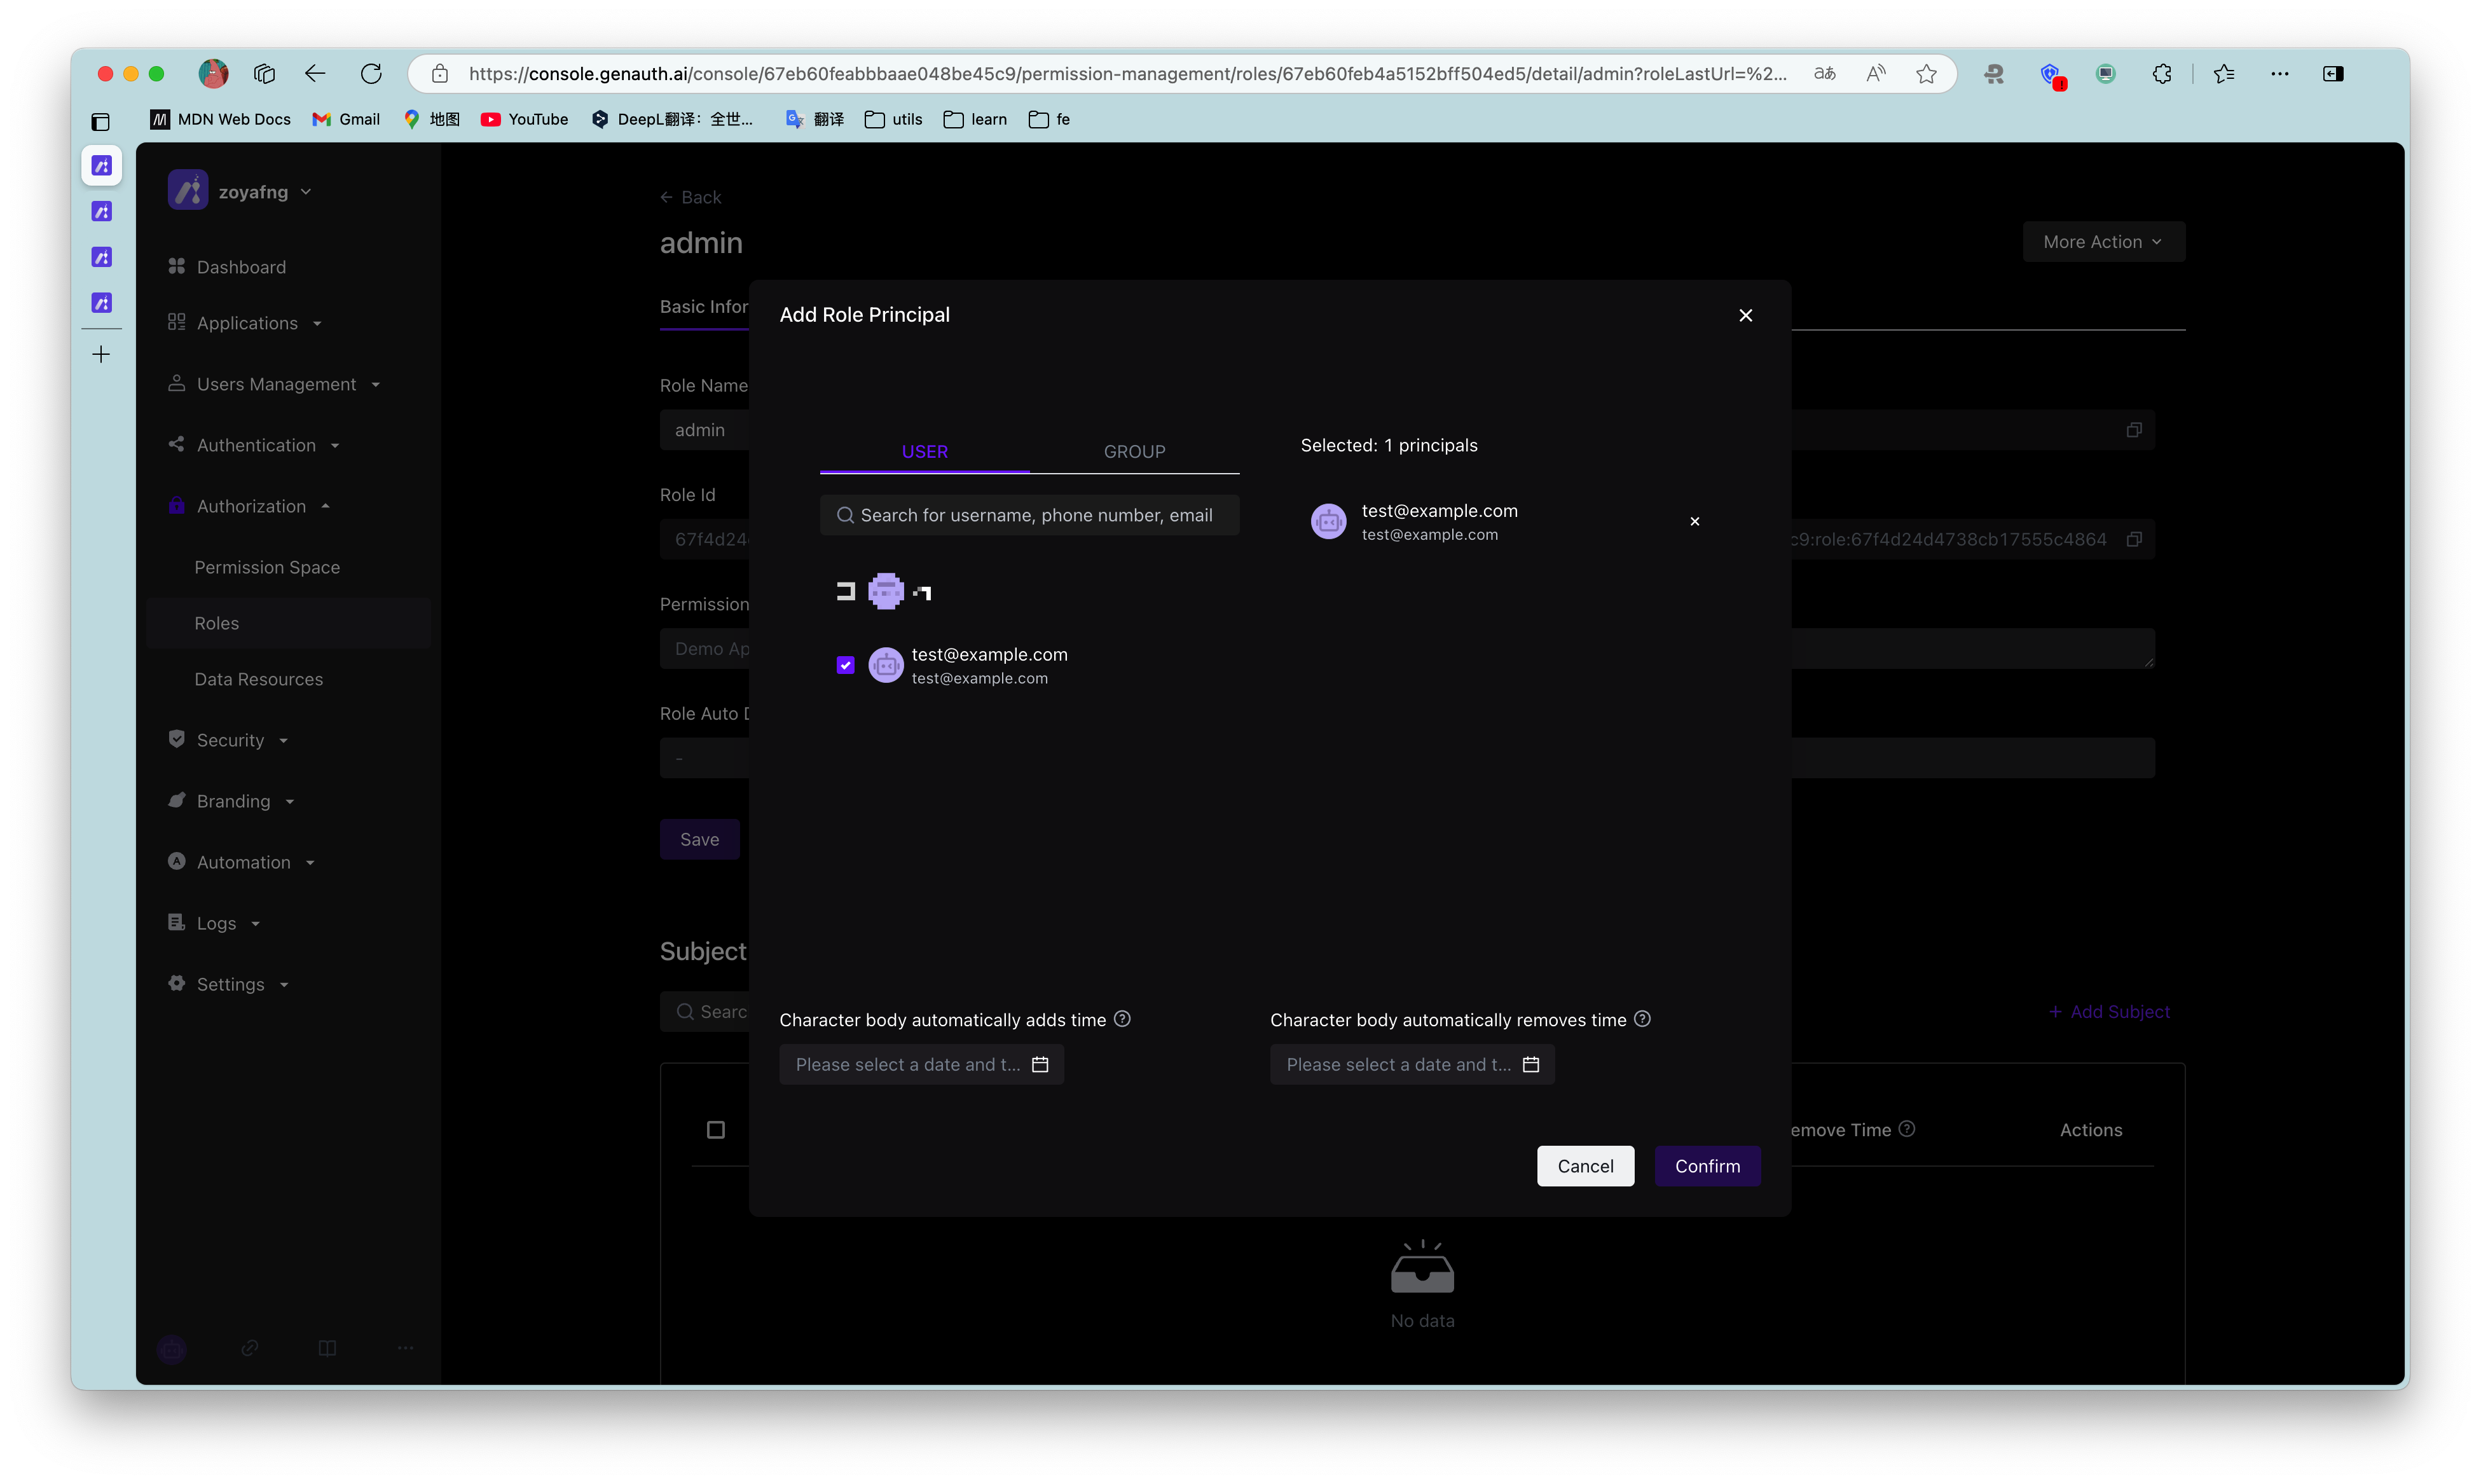
On the role details page, you can authorize this role to the user. You can search for users by username, phone number, email address, or nickname:
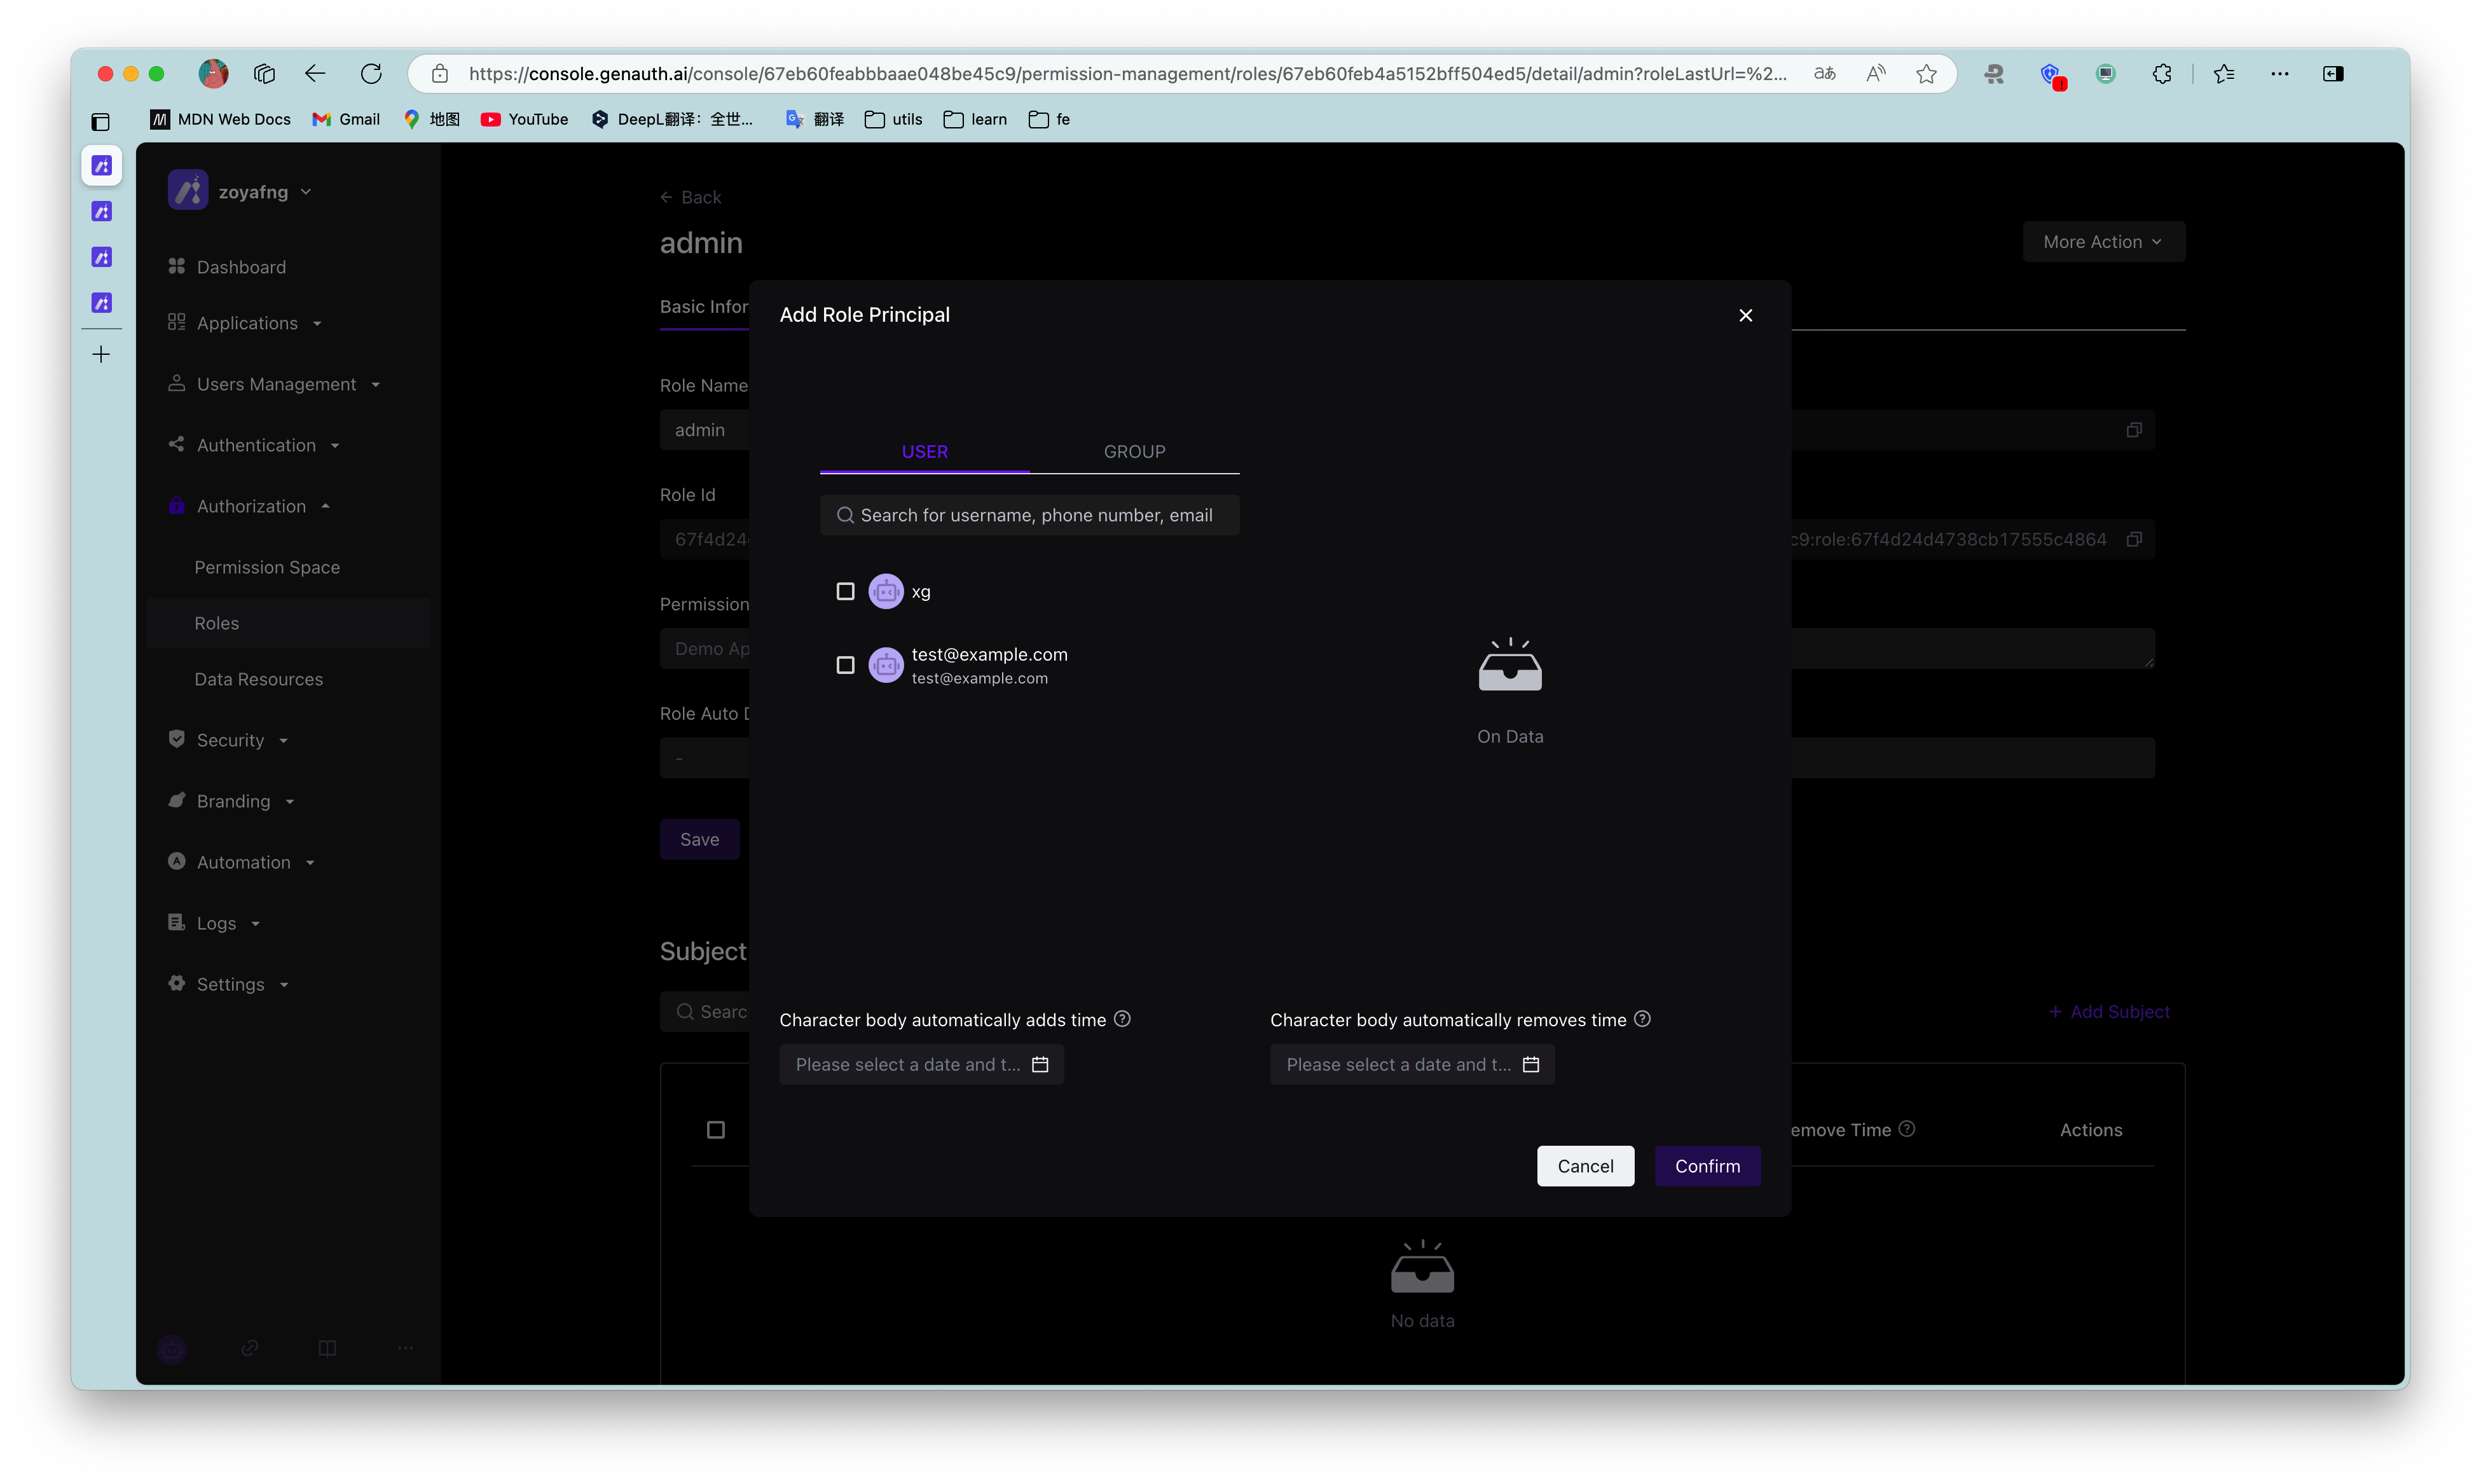
After selecting a user, click Confirm, and you can view a list of users who are authorized to this role.
You can also use API & SDK to grant roles to users. For details, see Role Management SDK.
¶ Control permissions by user roles in the backend
After the user successfully authenticates and obtains the Token, you can parse the current user's ID. Next, you can use the API & SDK we provide to obtain the role granted to the user in the backend. Here, Node.js is used as an example:
Here, Node SDK is used as an example. We also support SDKs in Python, Java, C#, PHP, etc. For details, click here.
First, get the list of all roles granted to the user:
import { ManagementClient } from "authing-js-sdk";

const managementClient = new ManagementClient({
  userPoolId: "YOUR_USERPOOL_ID",
  secret: "YOUR_USERPOOL_SECRET",
});
const { totalCount, list } = await managementClient.users.listRoles("USER_ID");
After getting all the roles of the user, we can determine whether the user has the devops role:
if (!list.map((role) => role.code).includes("devops")) {
  throw new Error("No permission to operate!");
}
¶ Create resources
In the previous step, we controlled permissions by whether the user has a certain role. This permission control is still relatively coarse-grained because it only determines whether the user has a certain role, but not whether he has a specific permission. GenAuth can perform more fine-grained authorization around resources based on the role-based access control model (RBAC).
You can abstract some objects of the system into resources, and define some operations on these resources. For example, in the scenario of this article, Repository, Tag, PR, and Release Notes are all resources, and these resources have corresponding operations:
- Repository: create, delete, etc.
- PR: open, comment, merge, etc.
- Tag: create, delete, etc.
- Release Notes: create, read, edit, delete, etc.
We create these resources in GenAuth:
¶ Authorize roles to operate resources
GenAuth also supports authorization to users and roles. If a user is in a role, he will also inherit the permissions authorized by this role. Therefore, GenAuth can not only implement the standard RBAC permission model, but also perform more fine-grained and dynamic permission control on this basis.
For example, in the following example, we grant the admin role the Create and Delete permissions for the repository resource:

¶ Determine whether the user has permissions on the backend
In the previous step, we authorized a user (role) to have specific operation permissions for a specific resource through resource authorization. When we perform interface authentication on the backend, we can make more fine-grained judgments:
Here we take the Node SDK as an example. We also support SDKs in Python, Java, C#, PHP and other languages. For details, please click here](/reference/).
Call the managementClient.acl.isAllowed method with the following parameters:
- userId: user ID. Users can be directly authorized to operate specific resources or inherit the permissions authorized by the role.
- resource: resource identifier, such as
repository:123represents the code repository with ID 123, andrepository:*represents resources such as code repositories. - action: specific operations, such as
repository:Deleterepresents the operation of deleting the code repository. - options: other options, optional
- options.namespace, resource permission group code
import { ManagementClient } from "authing-js-sdk";

const managementClient = new ManagementClient({
  userPoolId: "YOUR_USERPOOL_ID",
  secret: "YOUR_USERPOOL_SECRET",
});
const { totalCount, list } = await managementClient.acl.isAllowed(
  "USER_ID",
  "repository:123",
  "repository:Delete"
);
The GenAuth policy engine will dynamically execute the policy based on the permission policy you configured, and finally return true or false. You only need to determine whether the user has the operation permission based on the return value.
¶ Next Steps
You can learn how to authorize users based on the ABAC permission model.