¶ User Group Management
Path: User Management->User Group Management
Perform operations such as adding, deleting, modifying, and querying a group of users, and assigning authorizations.
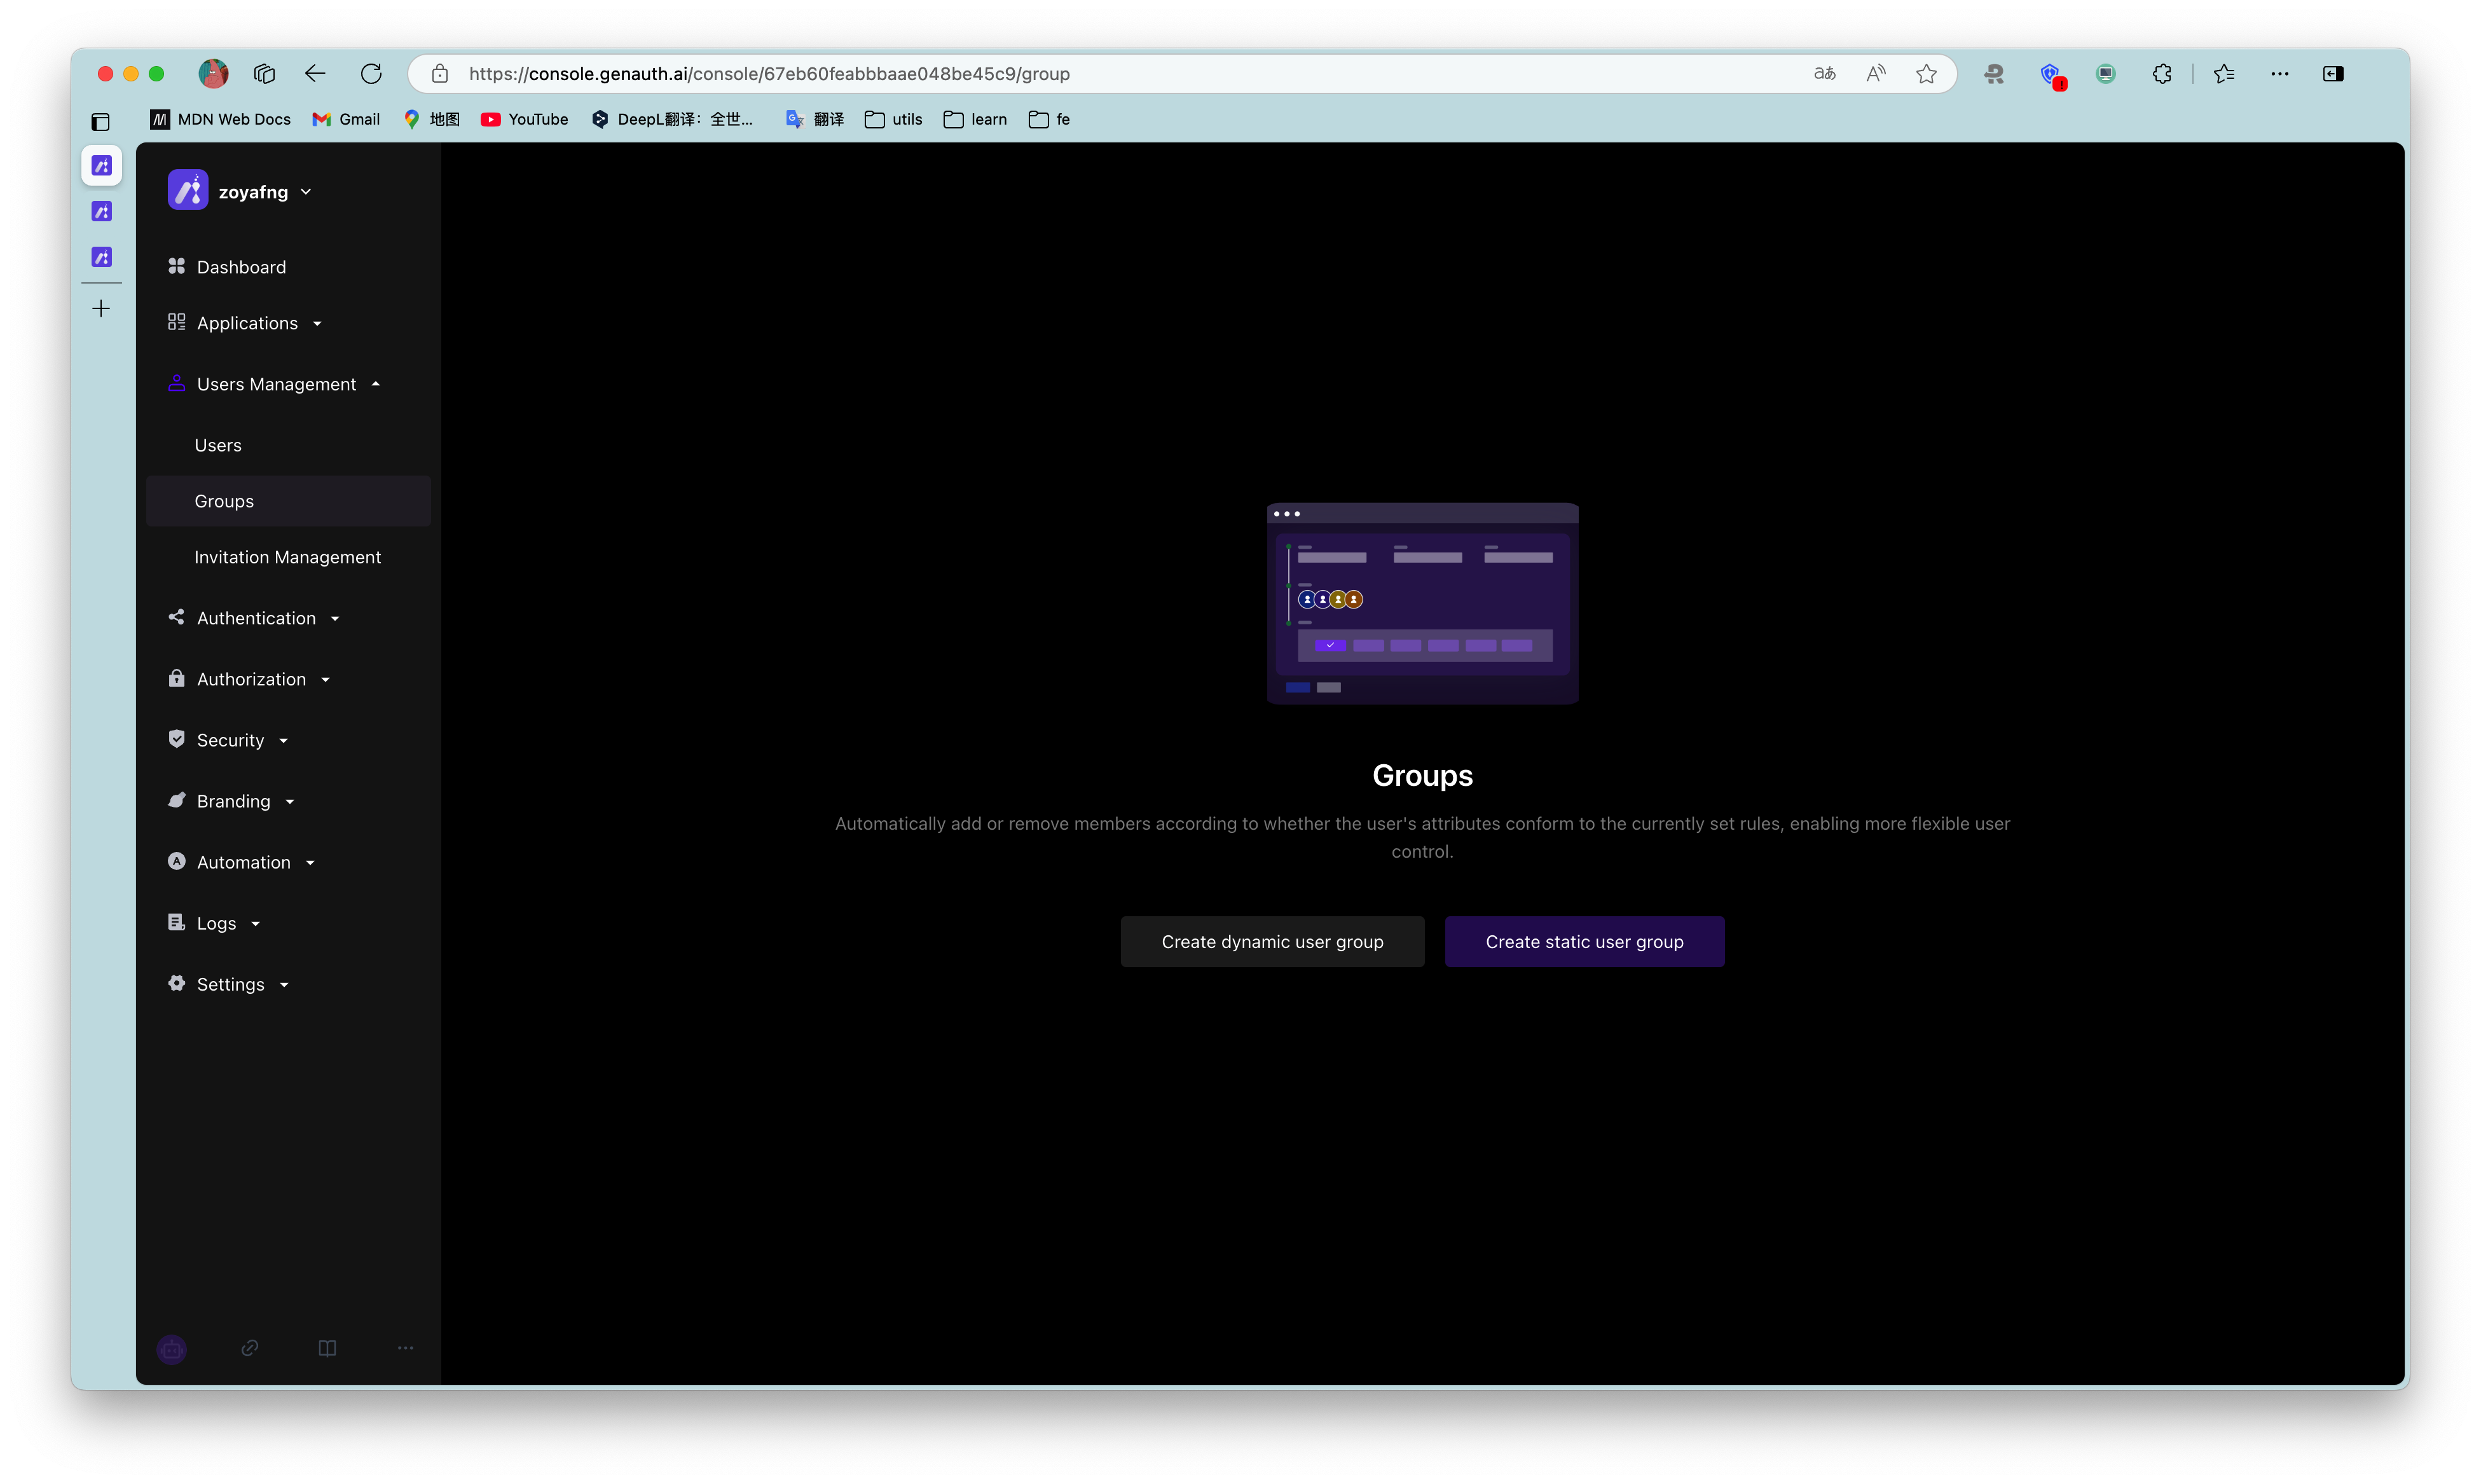
¶ Create a group
Find User Management in the navigation bar and click the corresponding menu to enter the user group page
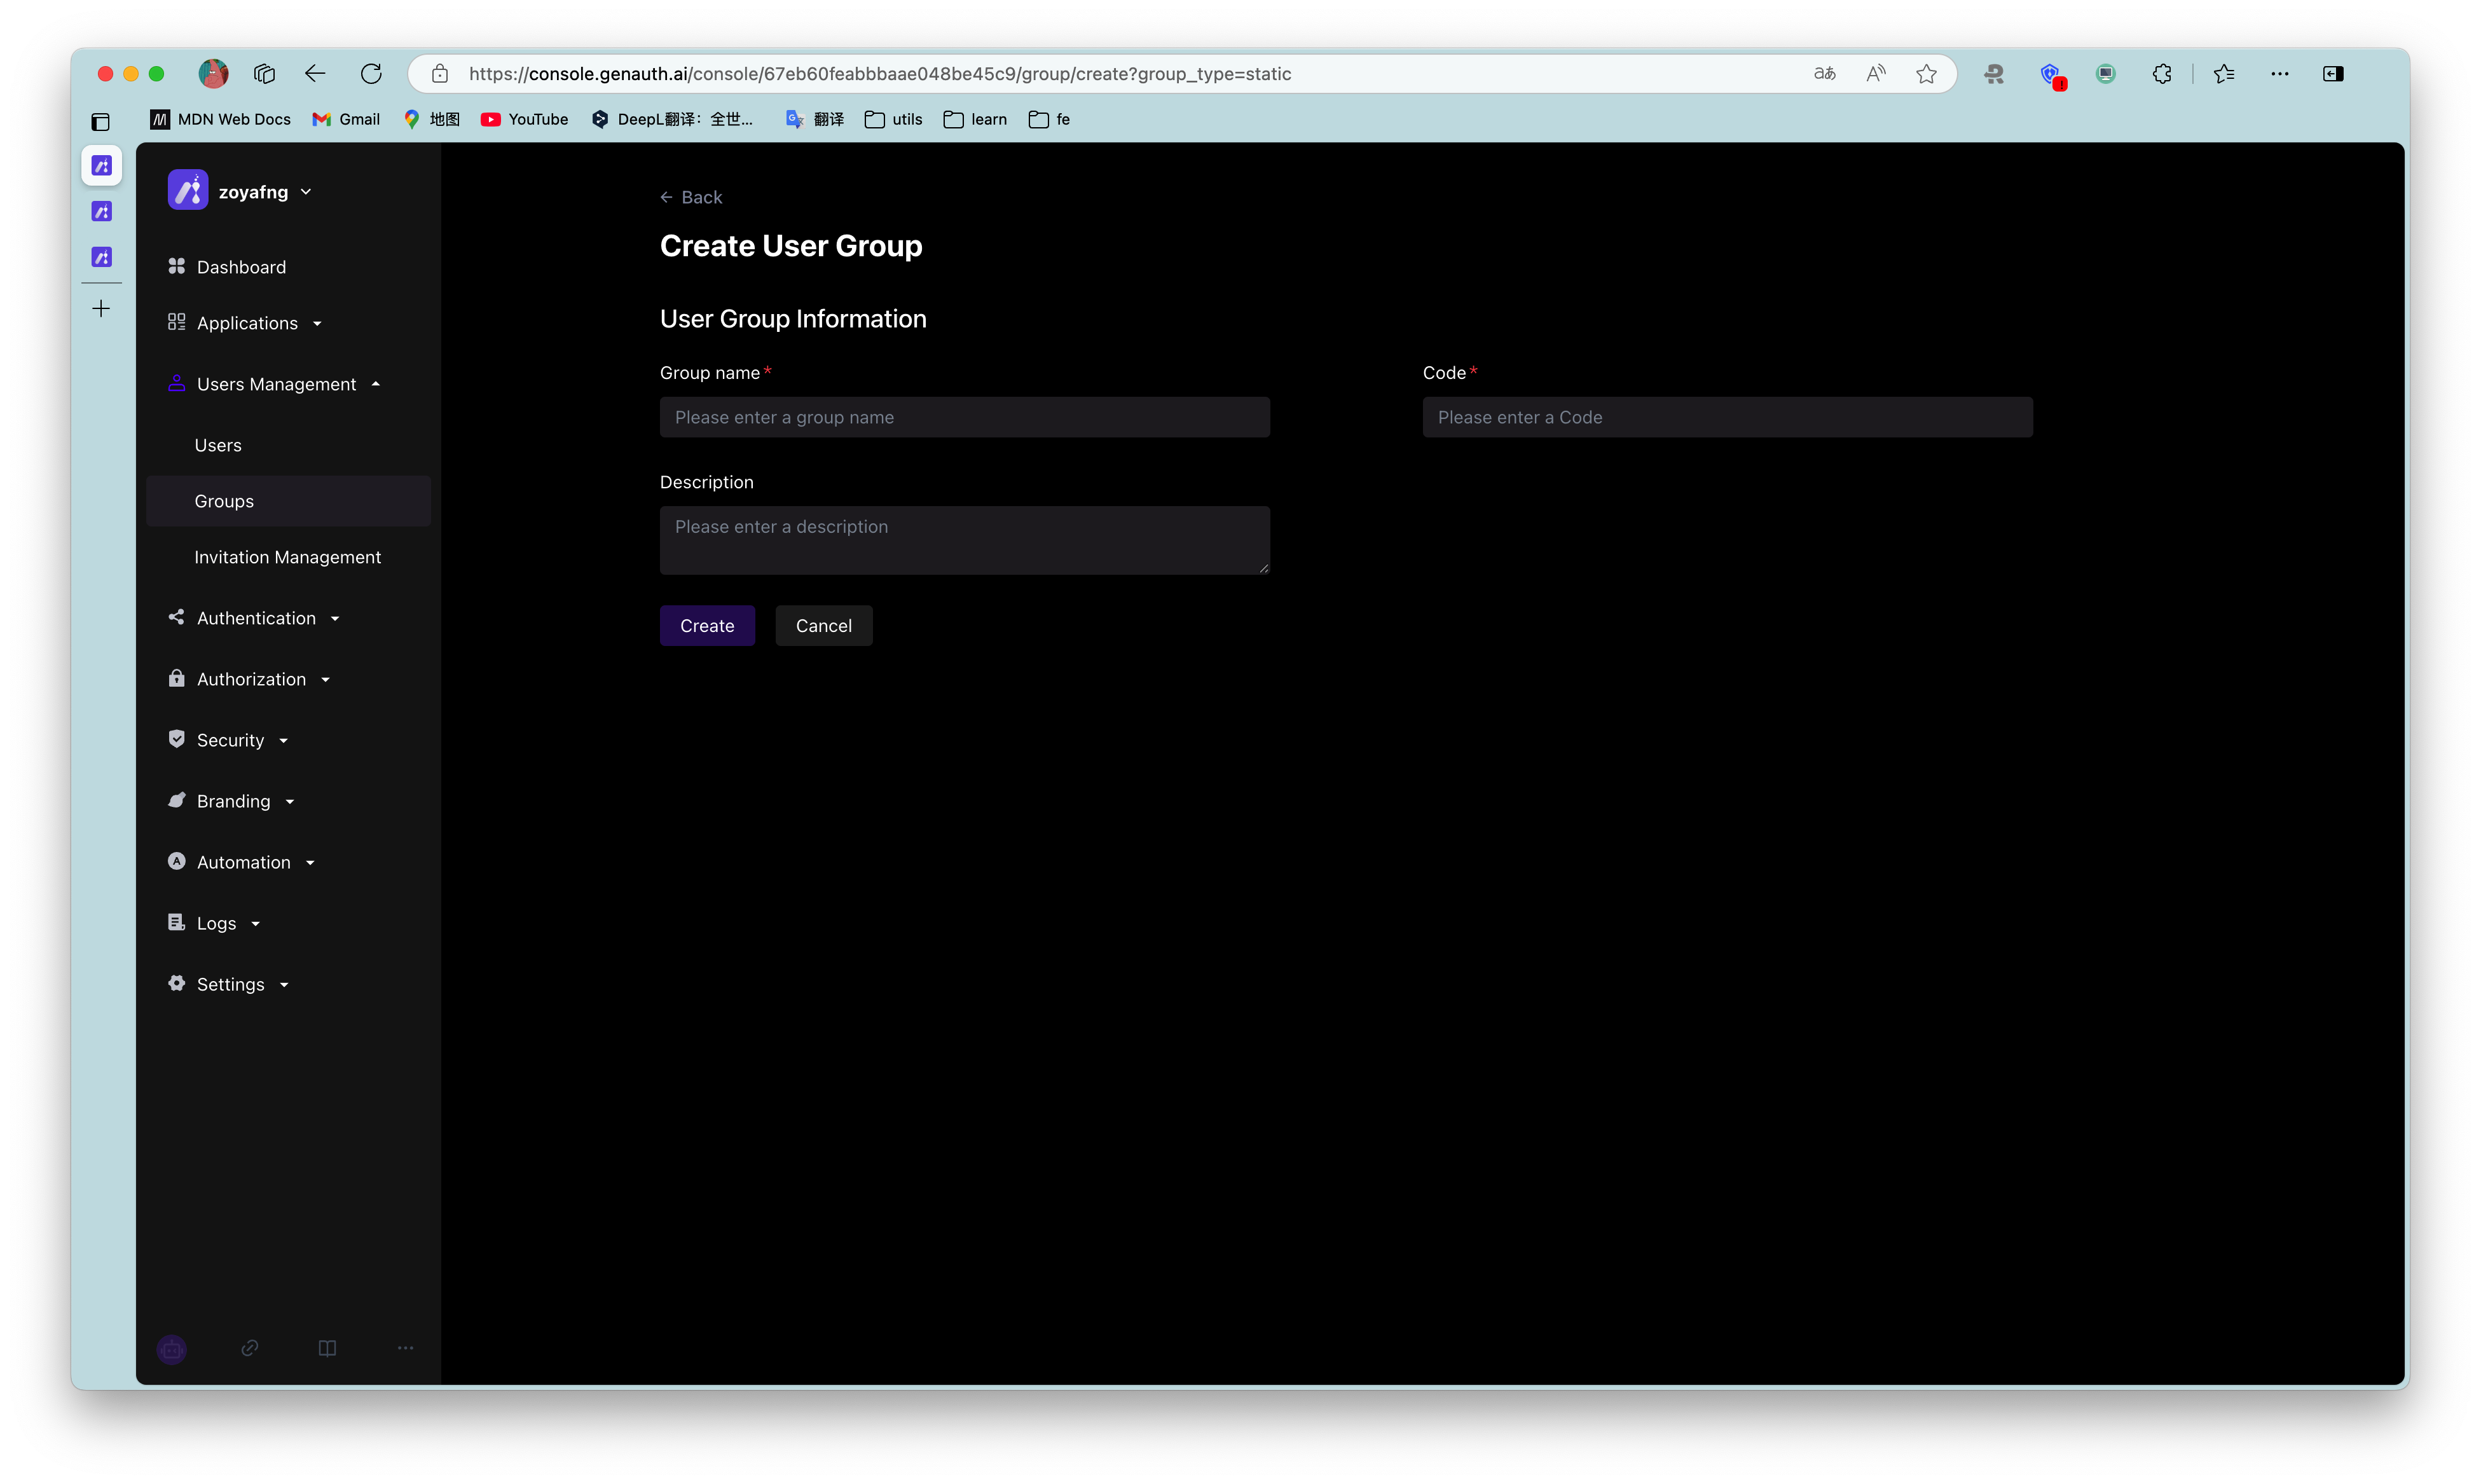
¶ Fill in group information
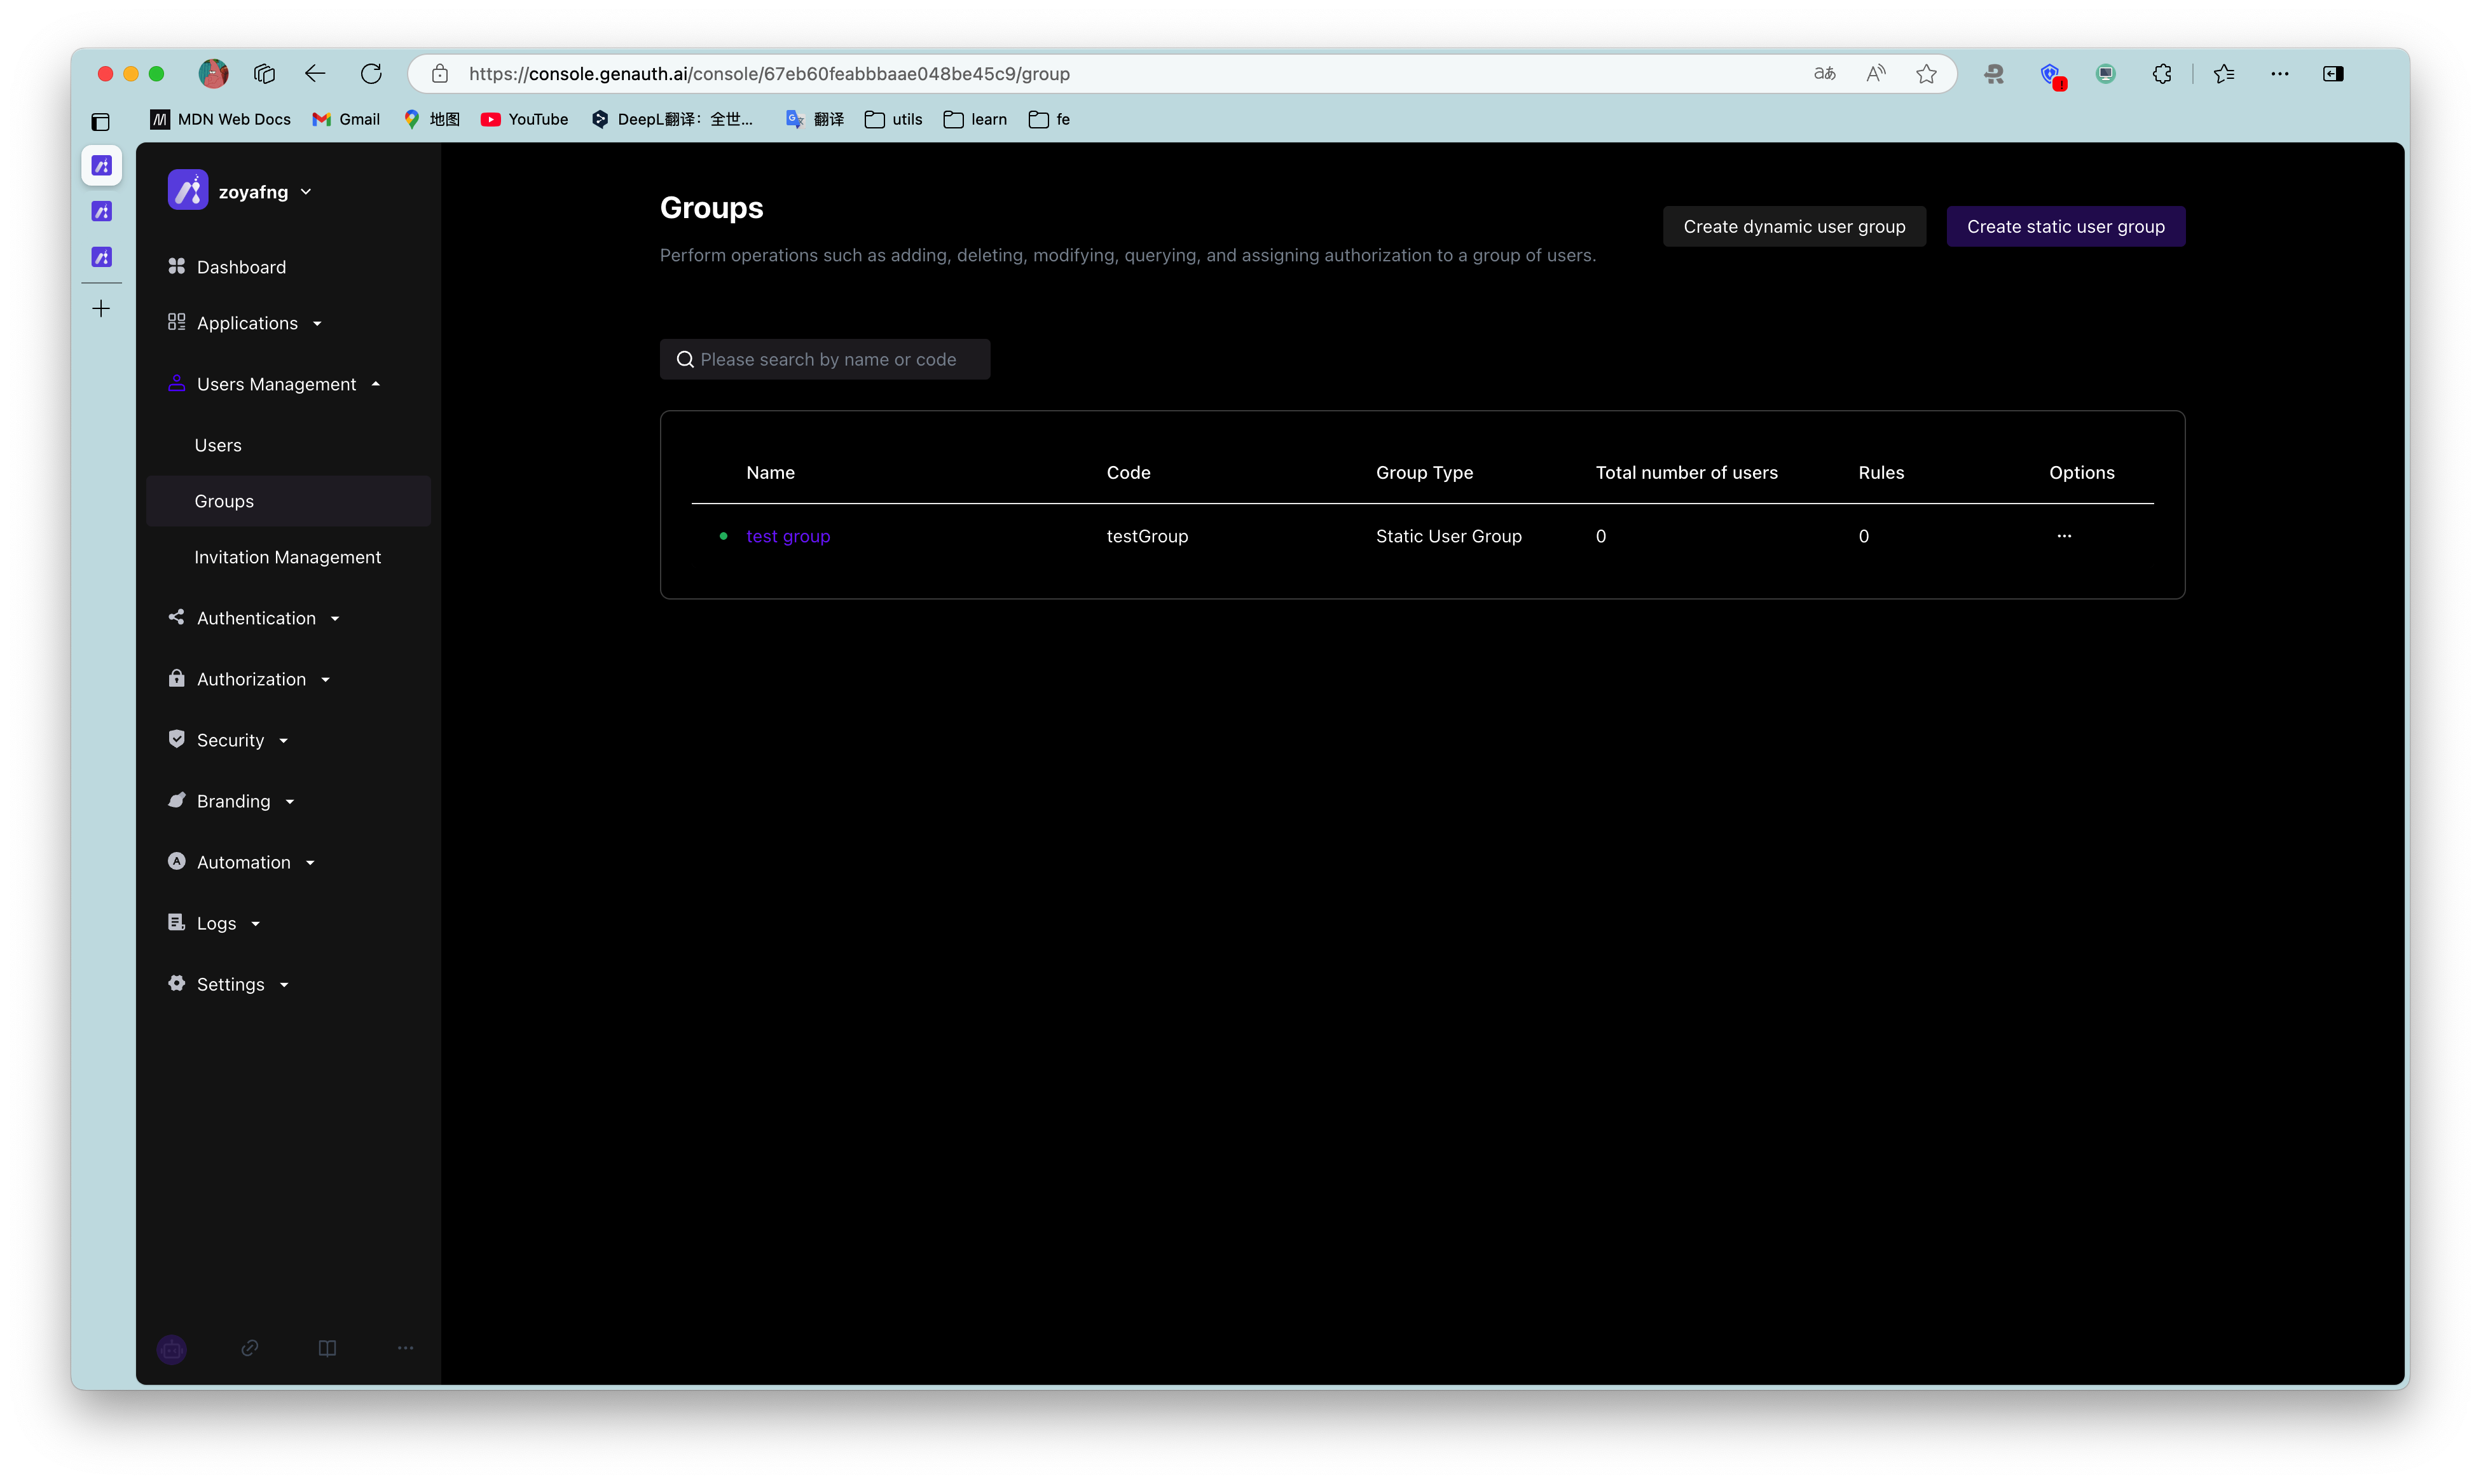
¶ Group list
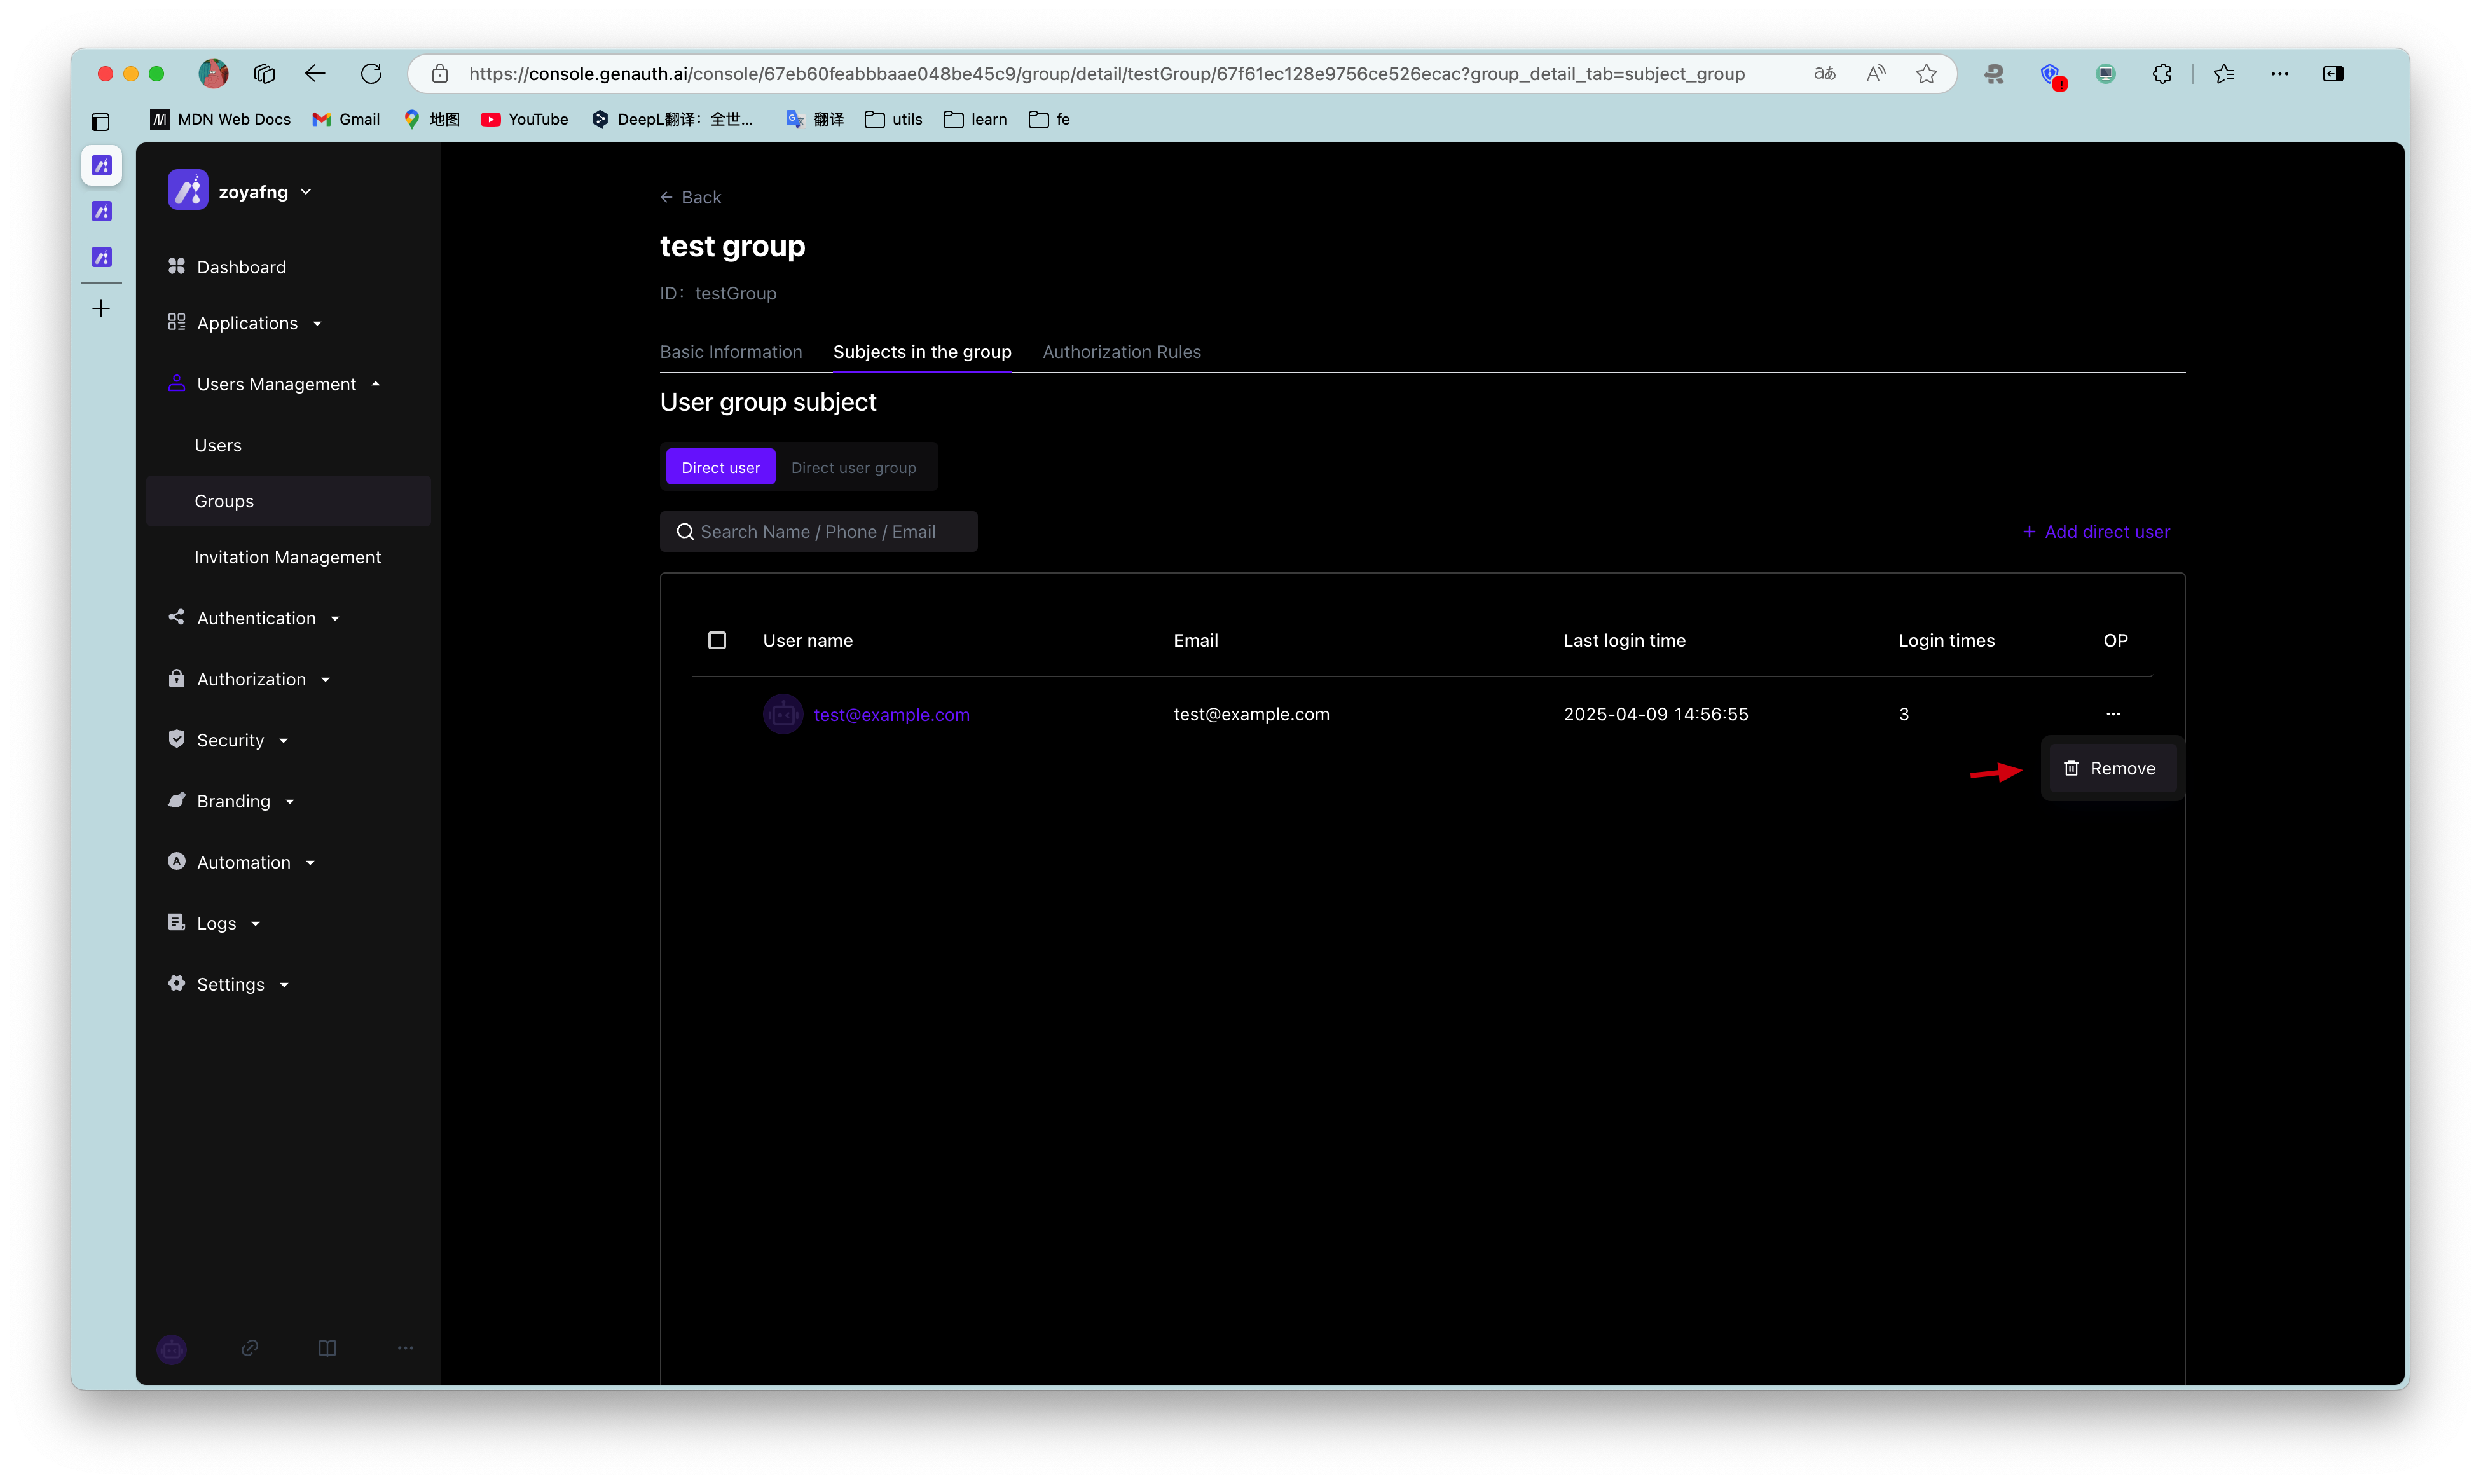
¶ Group details
- Click Add Member.
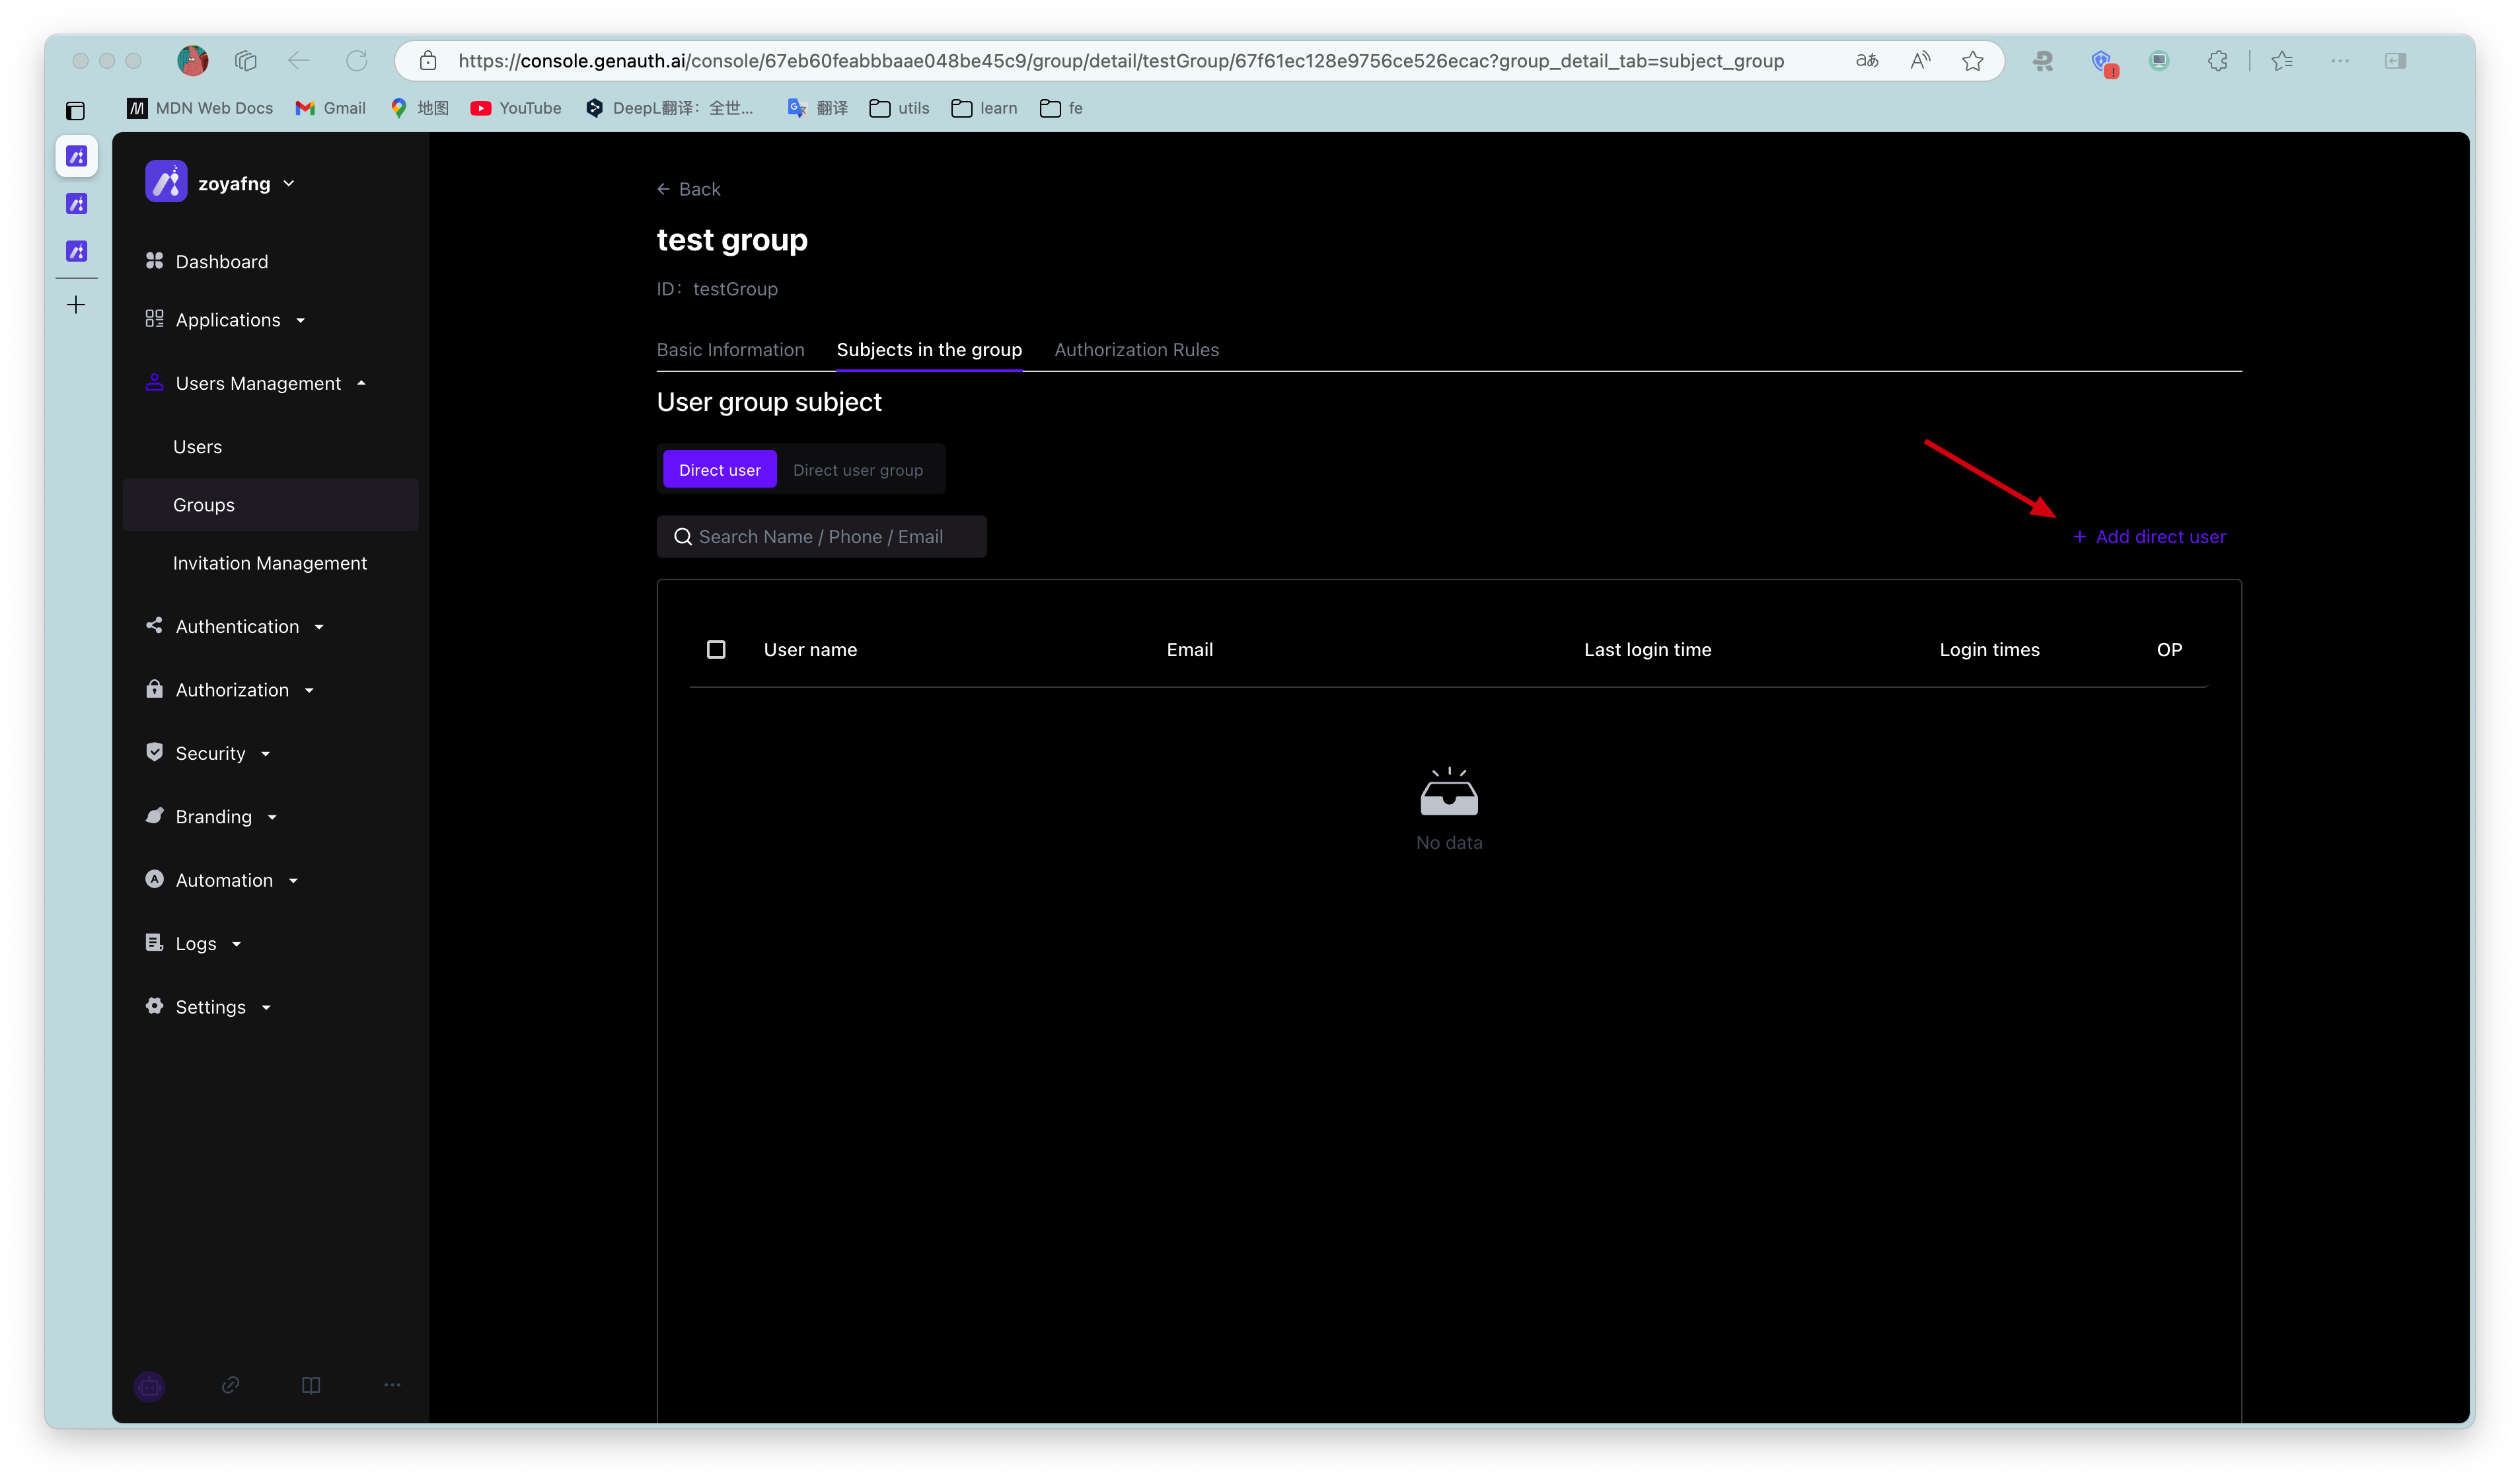
- Select a member from the pop-up component or search for a member.
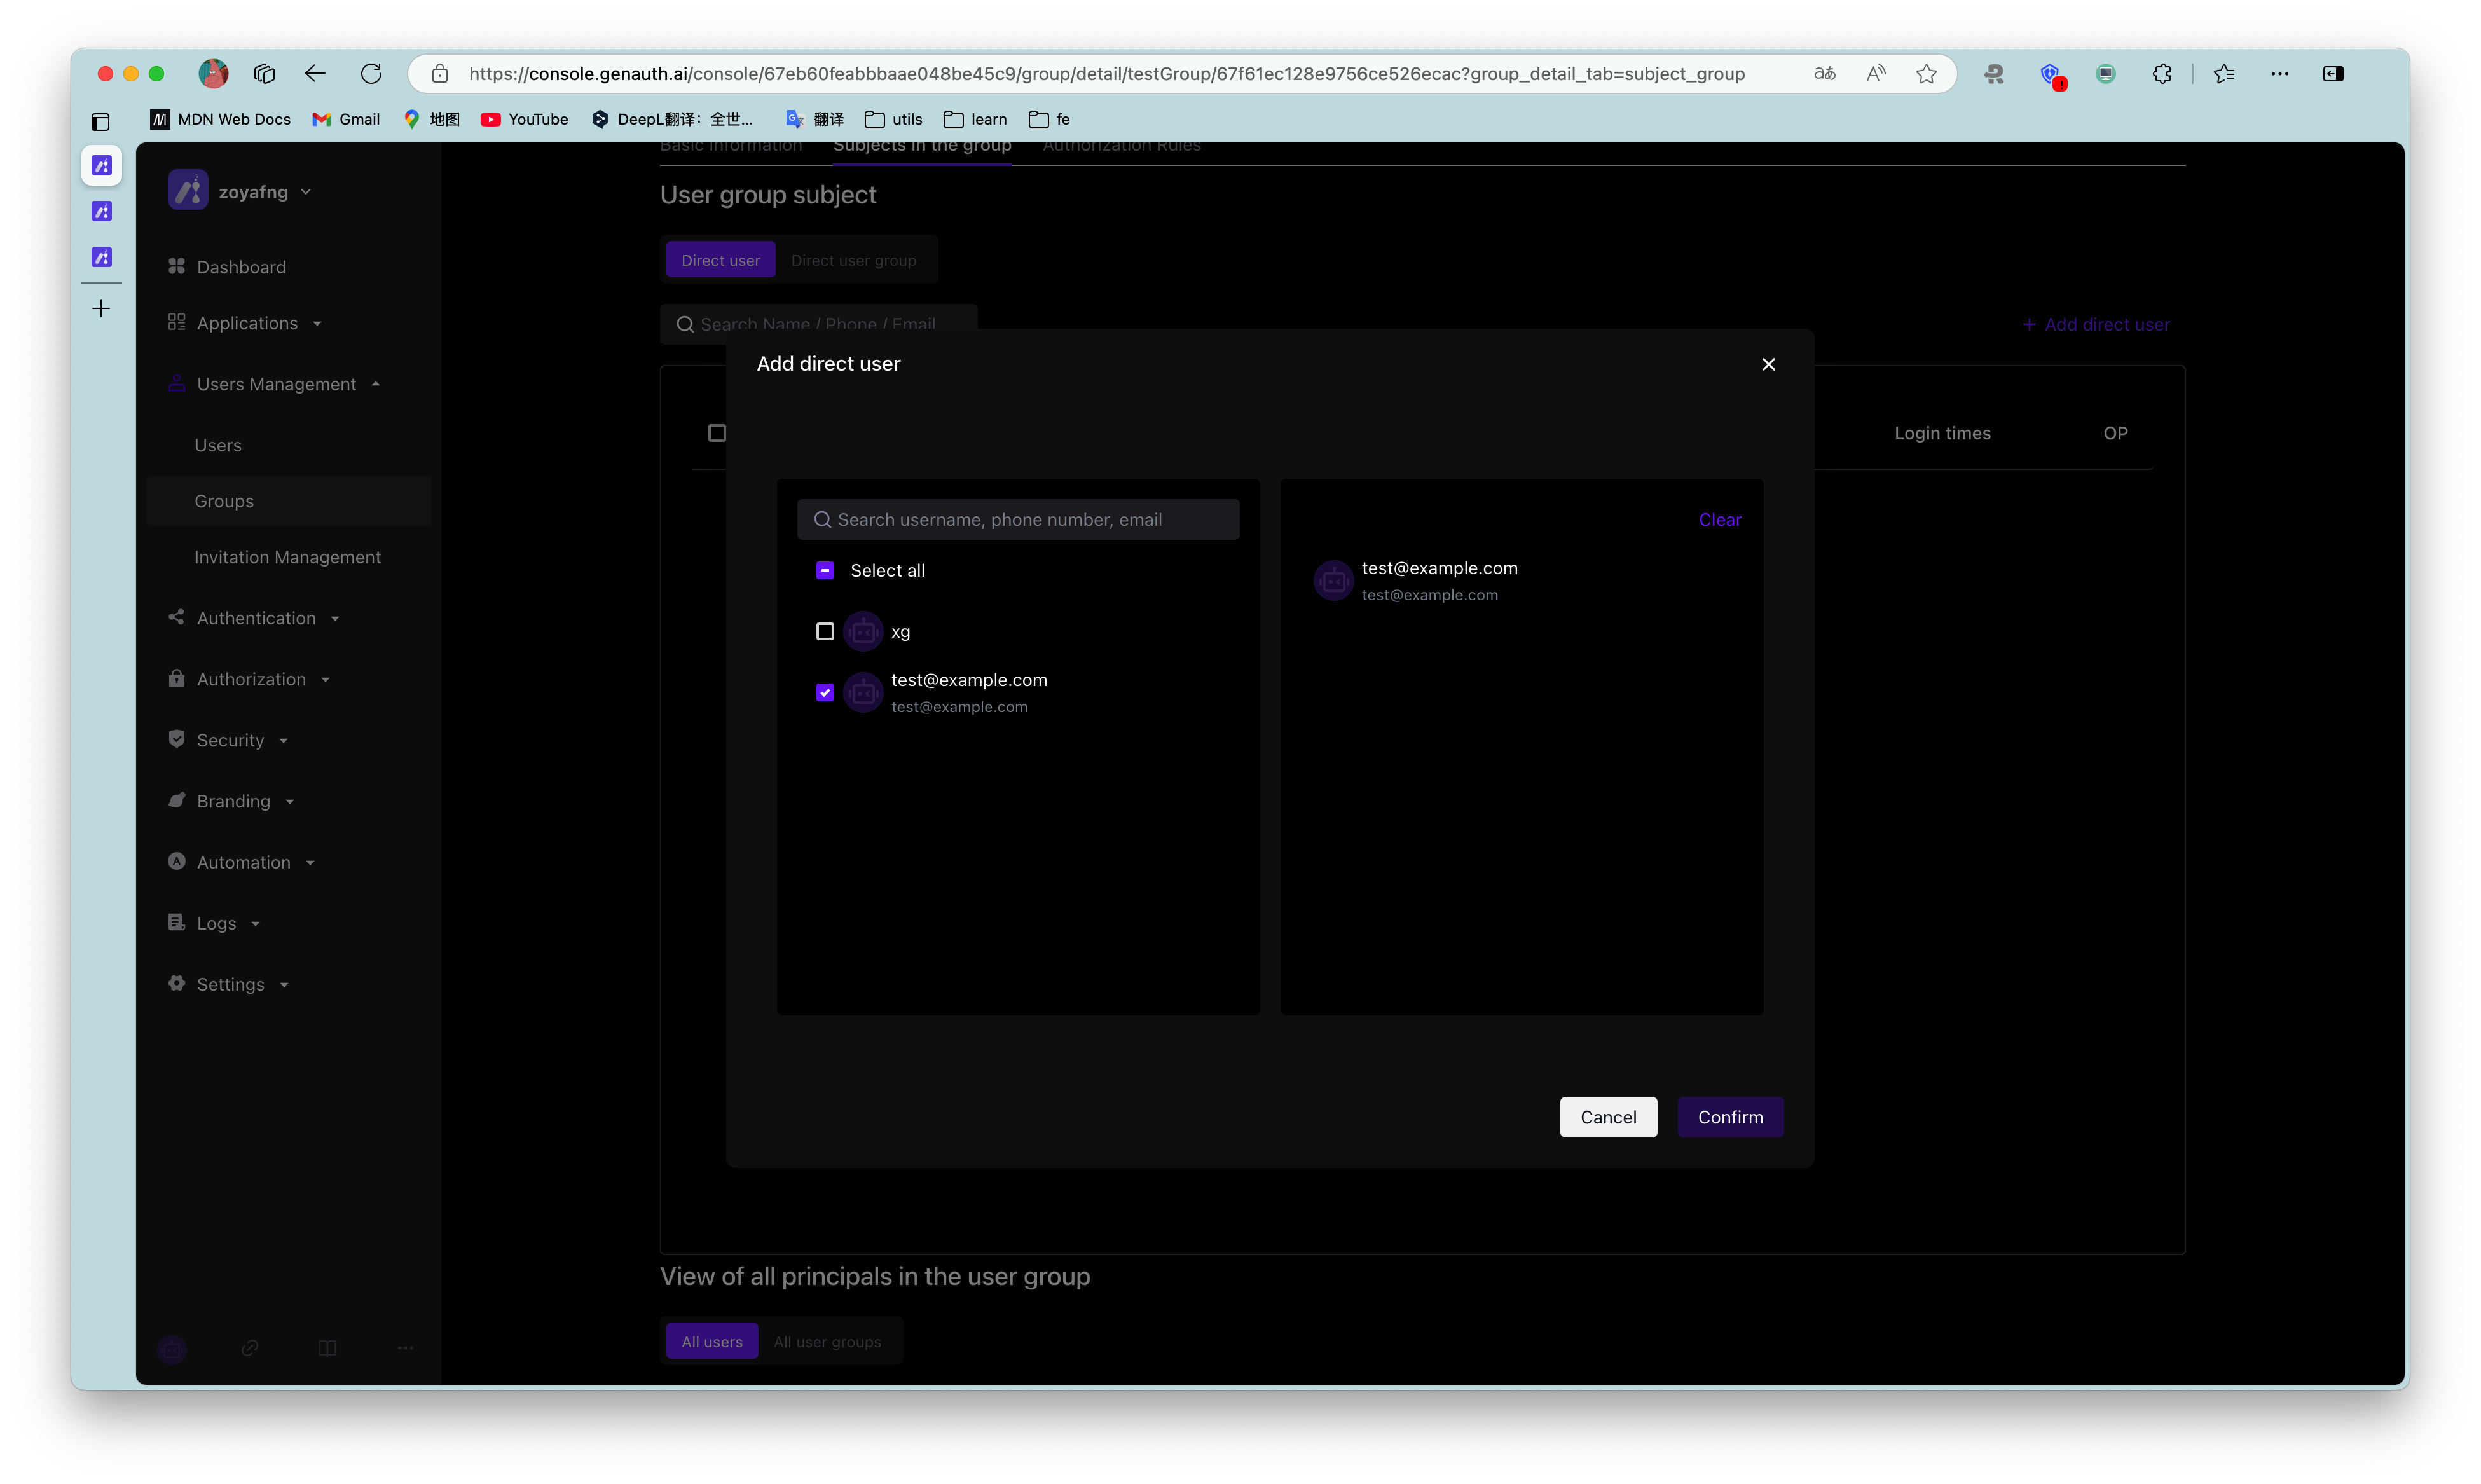
- Click Confirm to add successfully.

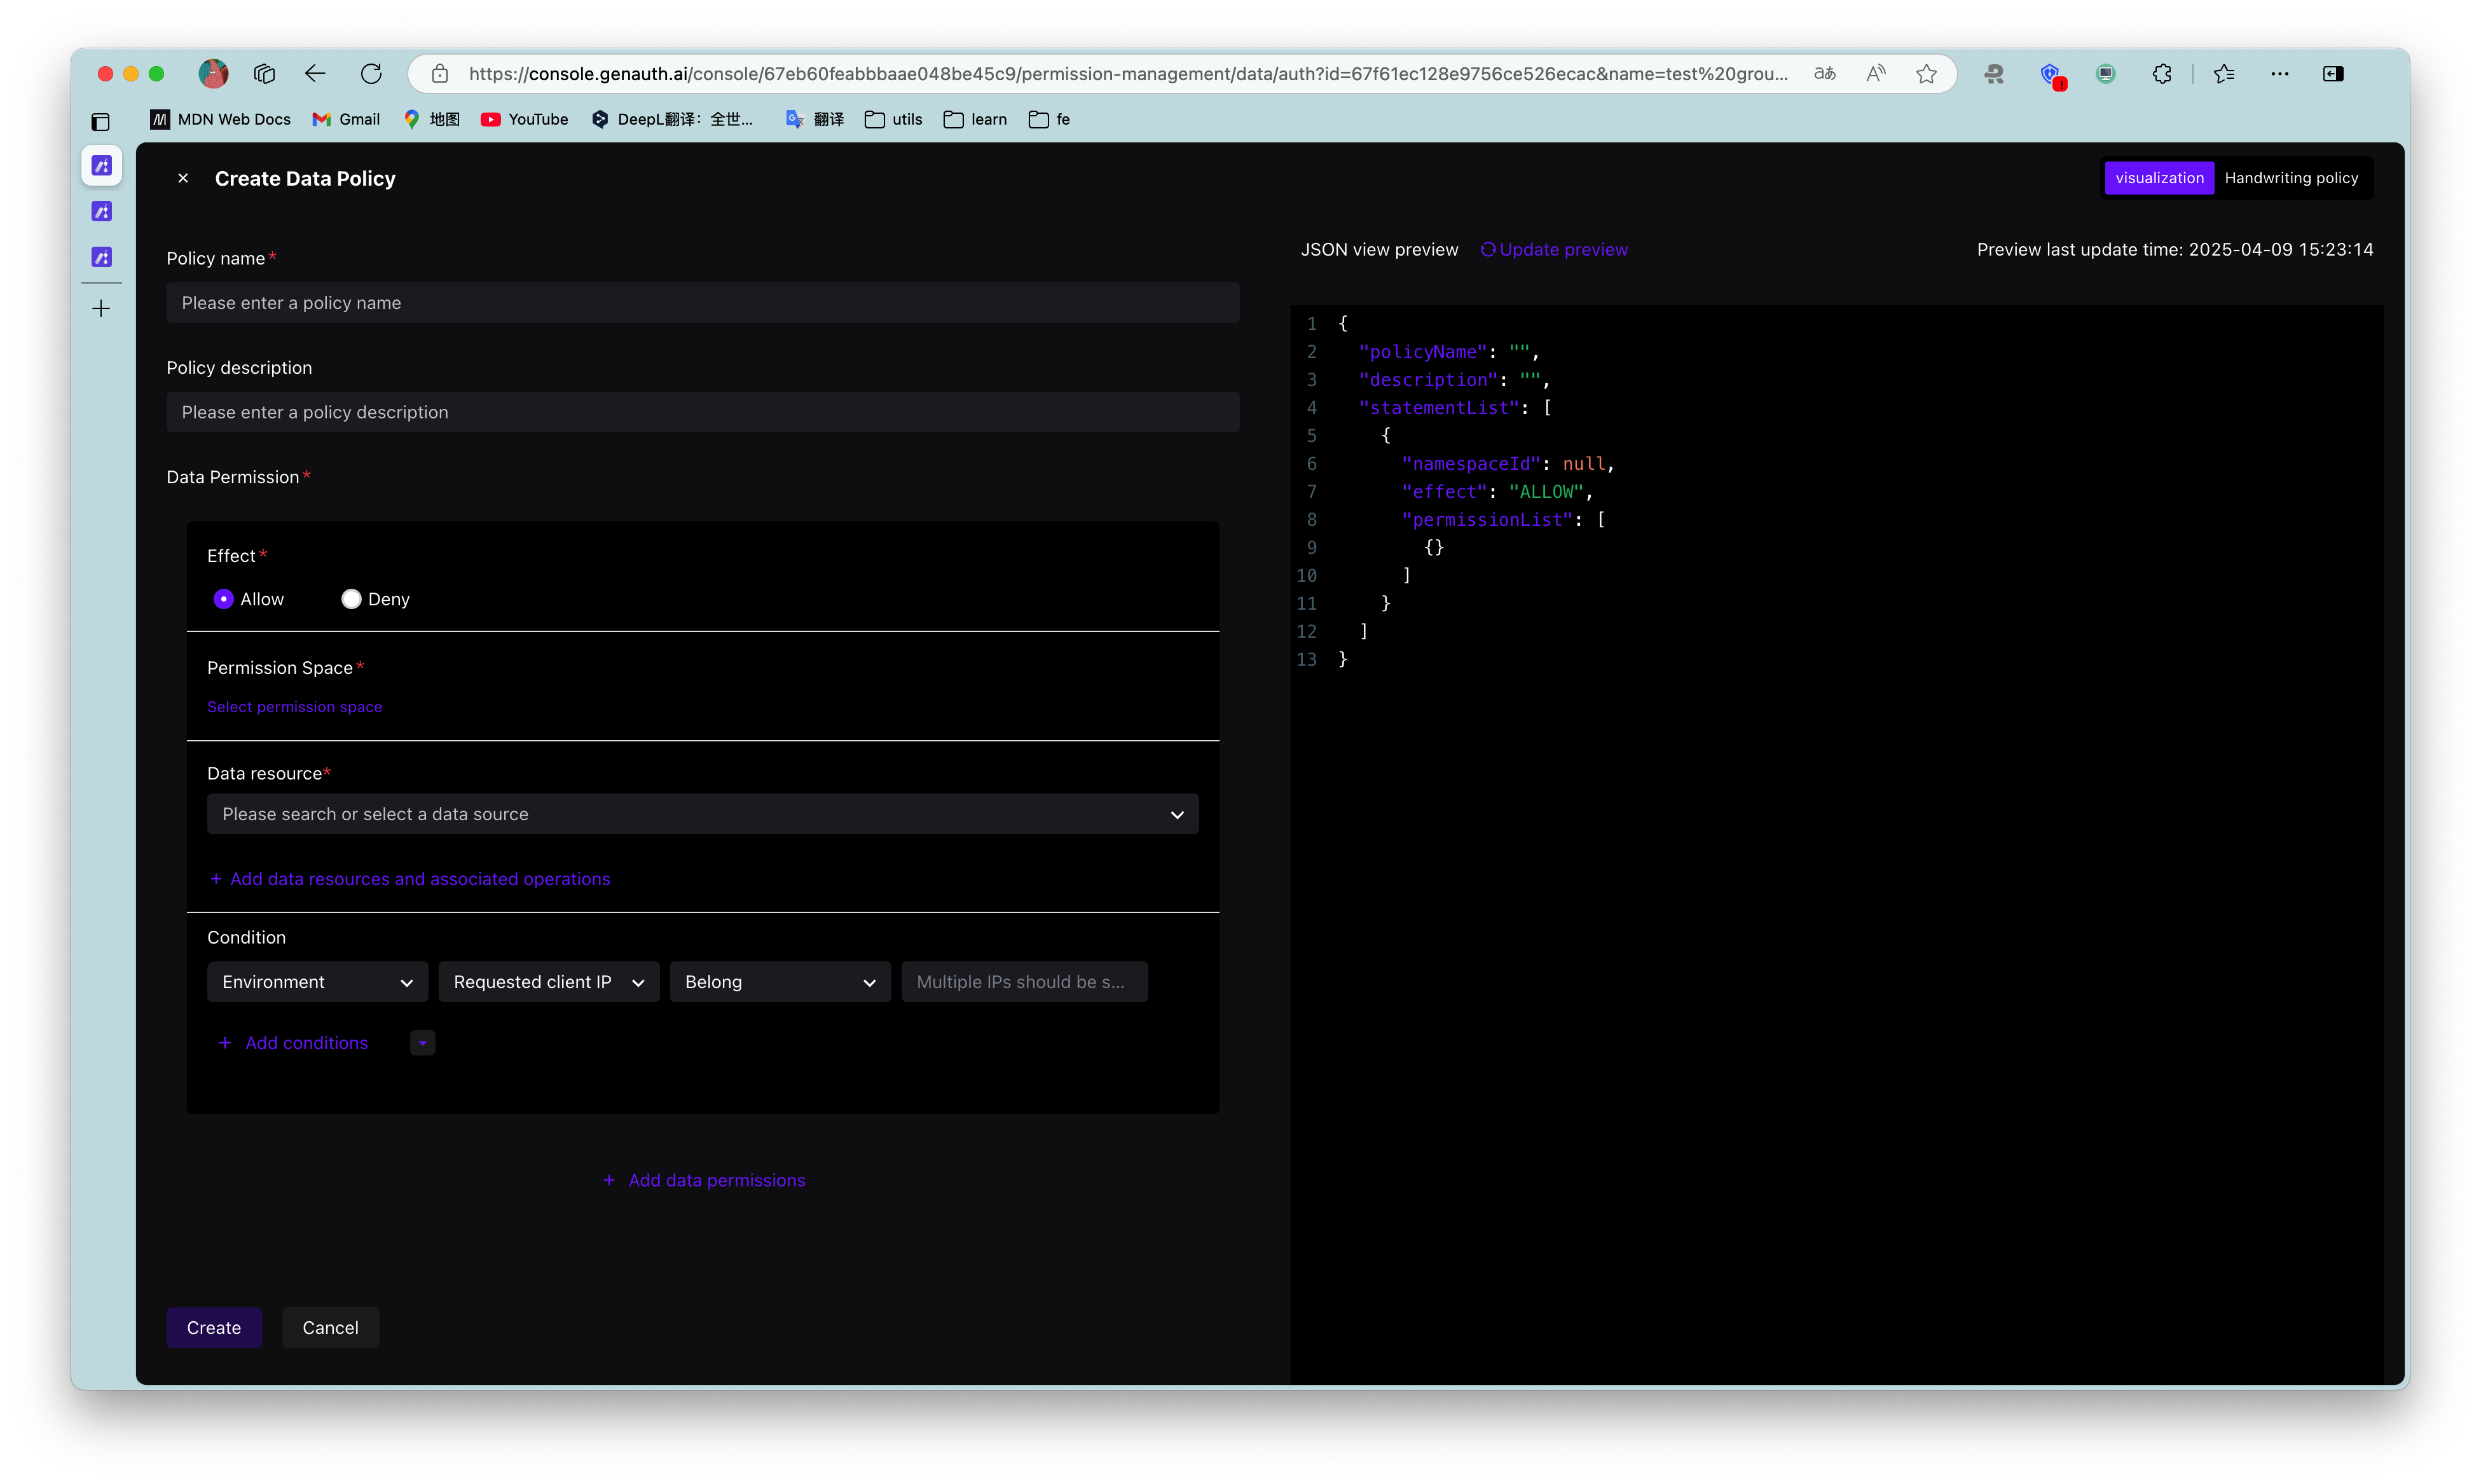
¶ Assign permissions
To assign permissions to user groups, perform the following steps:

Click Add Authorization Rule.
Select Permission Group in the Authorization component, and specify Permission Role and Resource.
Specify the operation.
Add restrictions.
To add multiple authorization rules to the current user group (specify other Permission Group / Authorization Role / Resource / Operation / Restriction), click Add Authorization Rule below the pop-up window.
- Click OK.
Authorization is successful.
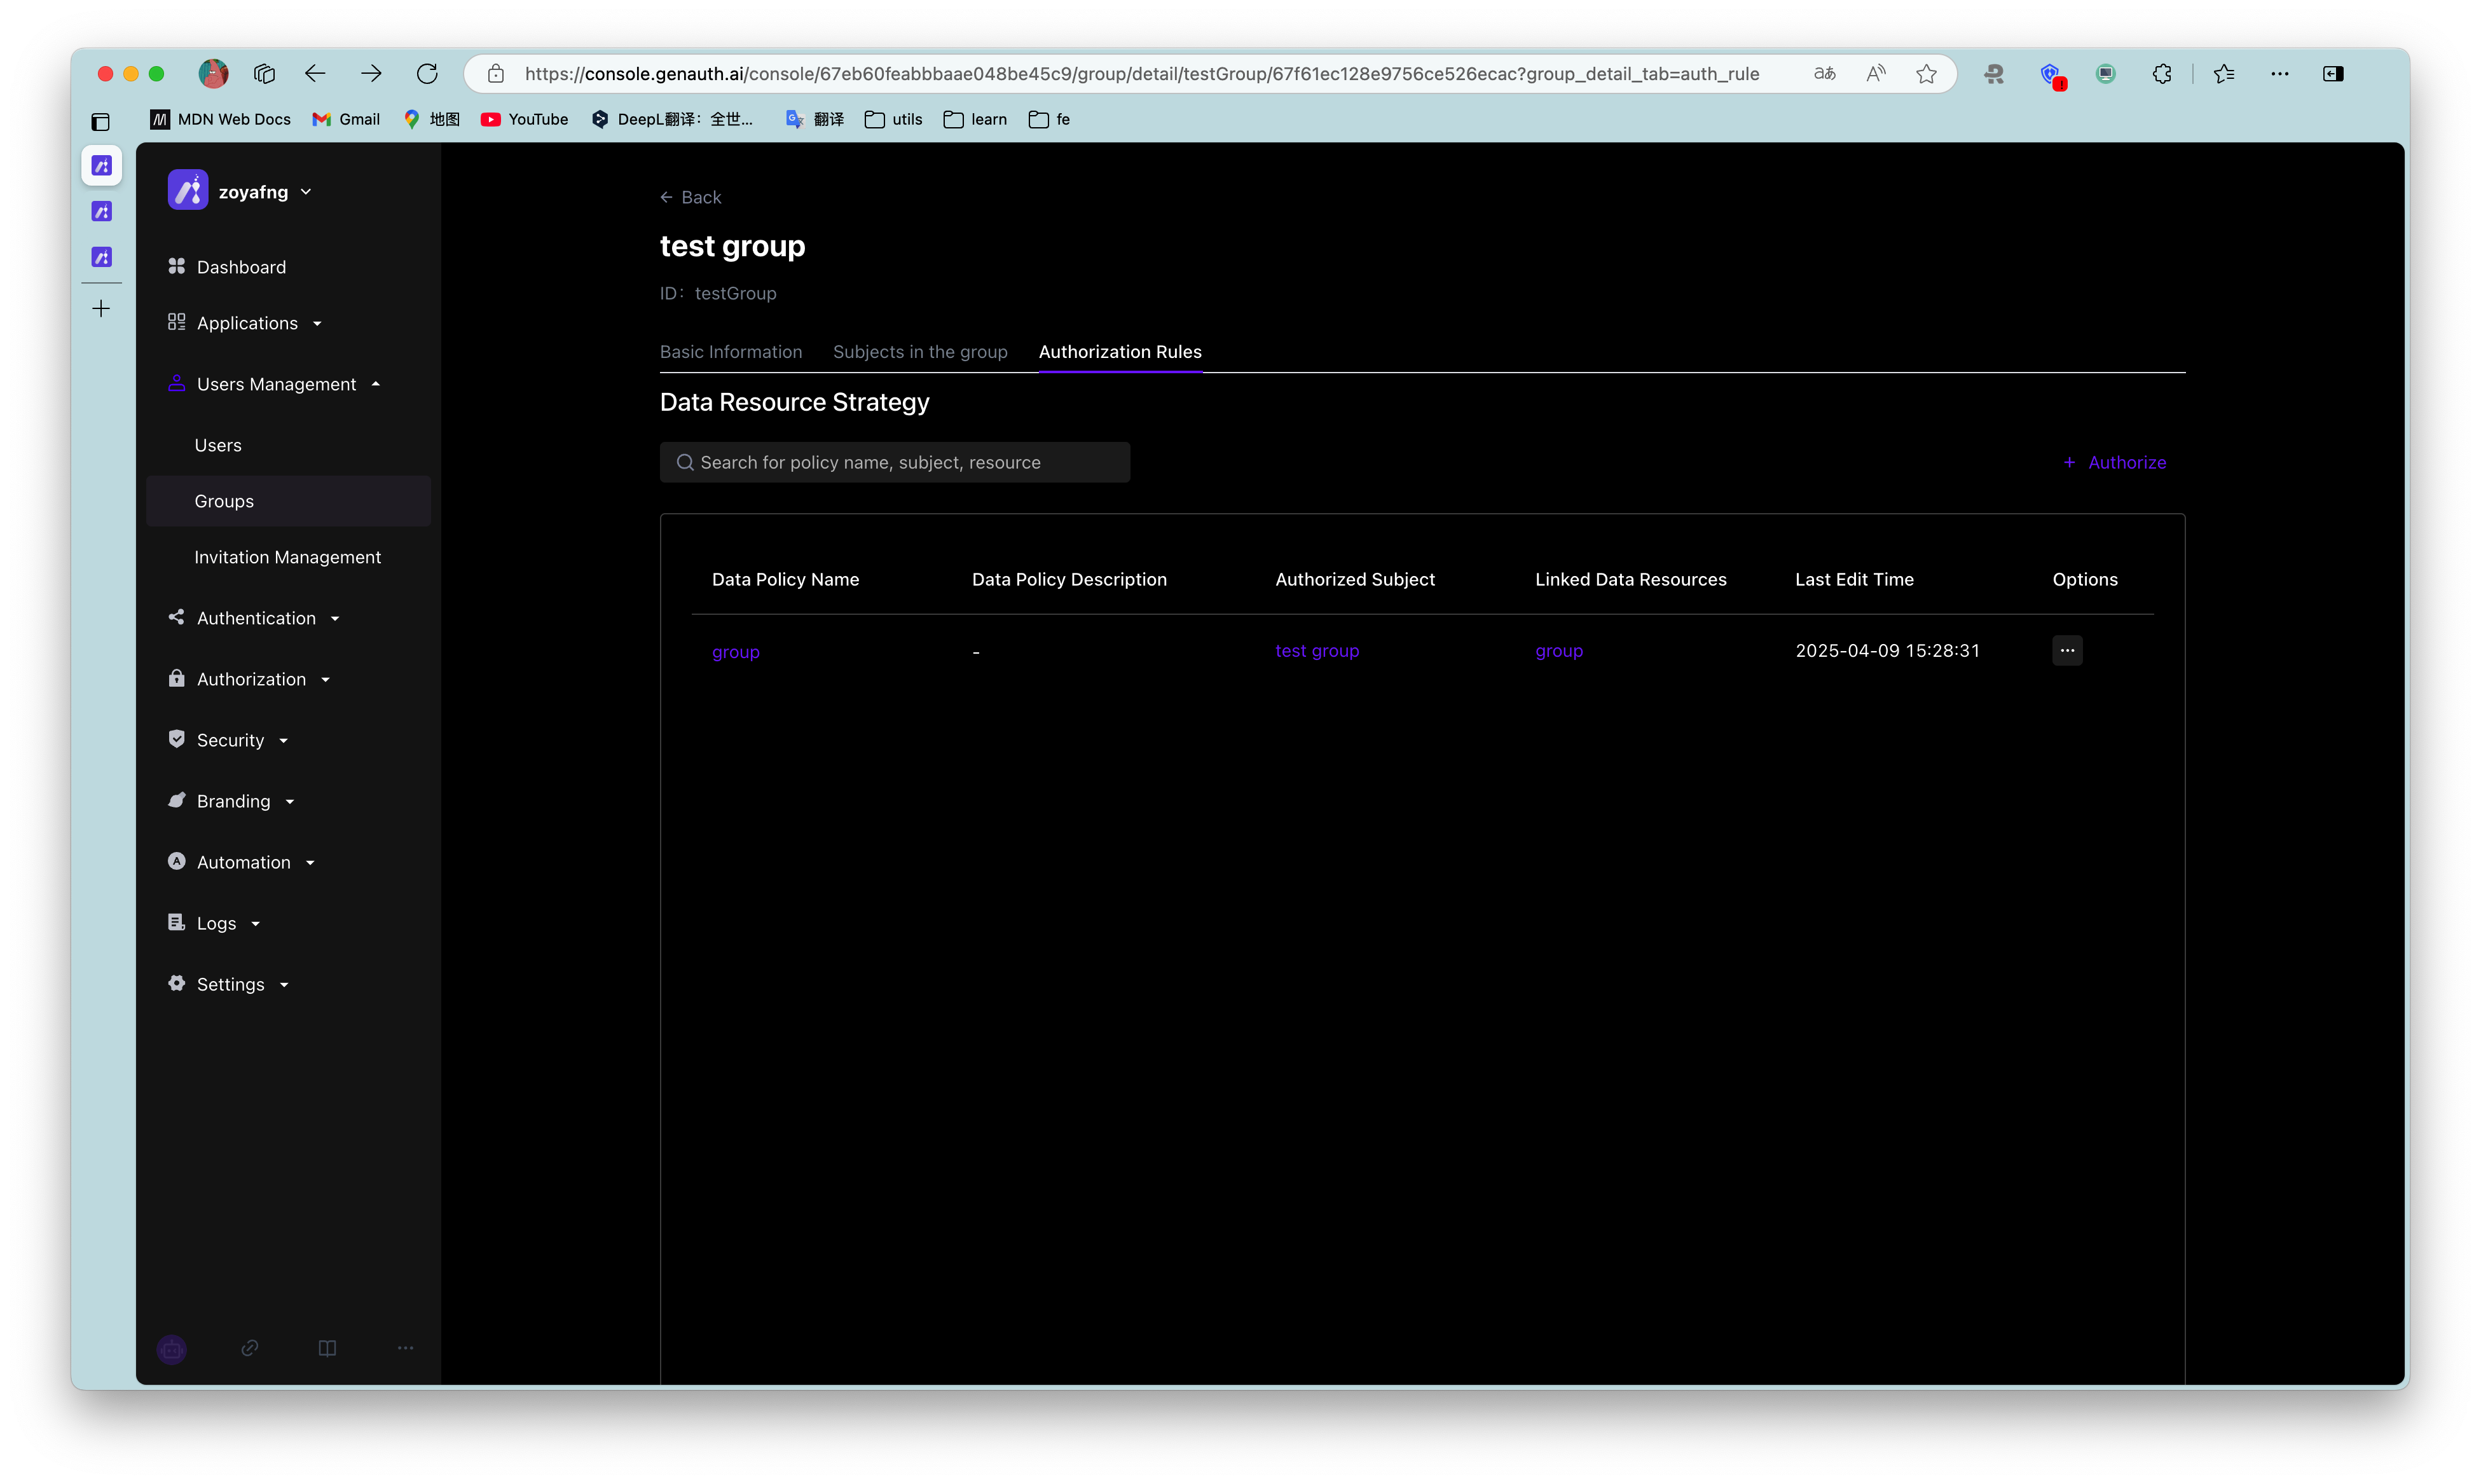
Click + to expand the current authorization rule and display the rule details.
To cancel authorization, click the Cancel Authorization button in the Action column of the current authorization rule row:
